
My Favourite Mixed Media Art Materials
I love sharing my creative process online and I get a lot of questions about the materials I use to create my artworks. Here I’ll chat about some of the staples in my toolkit, plus how and why I use them!
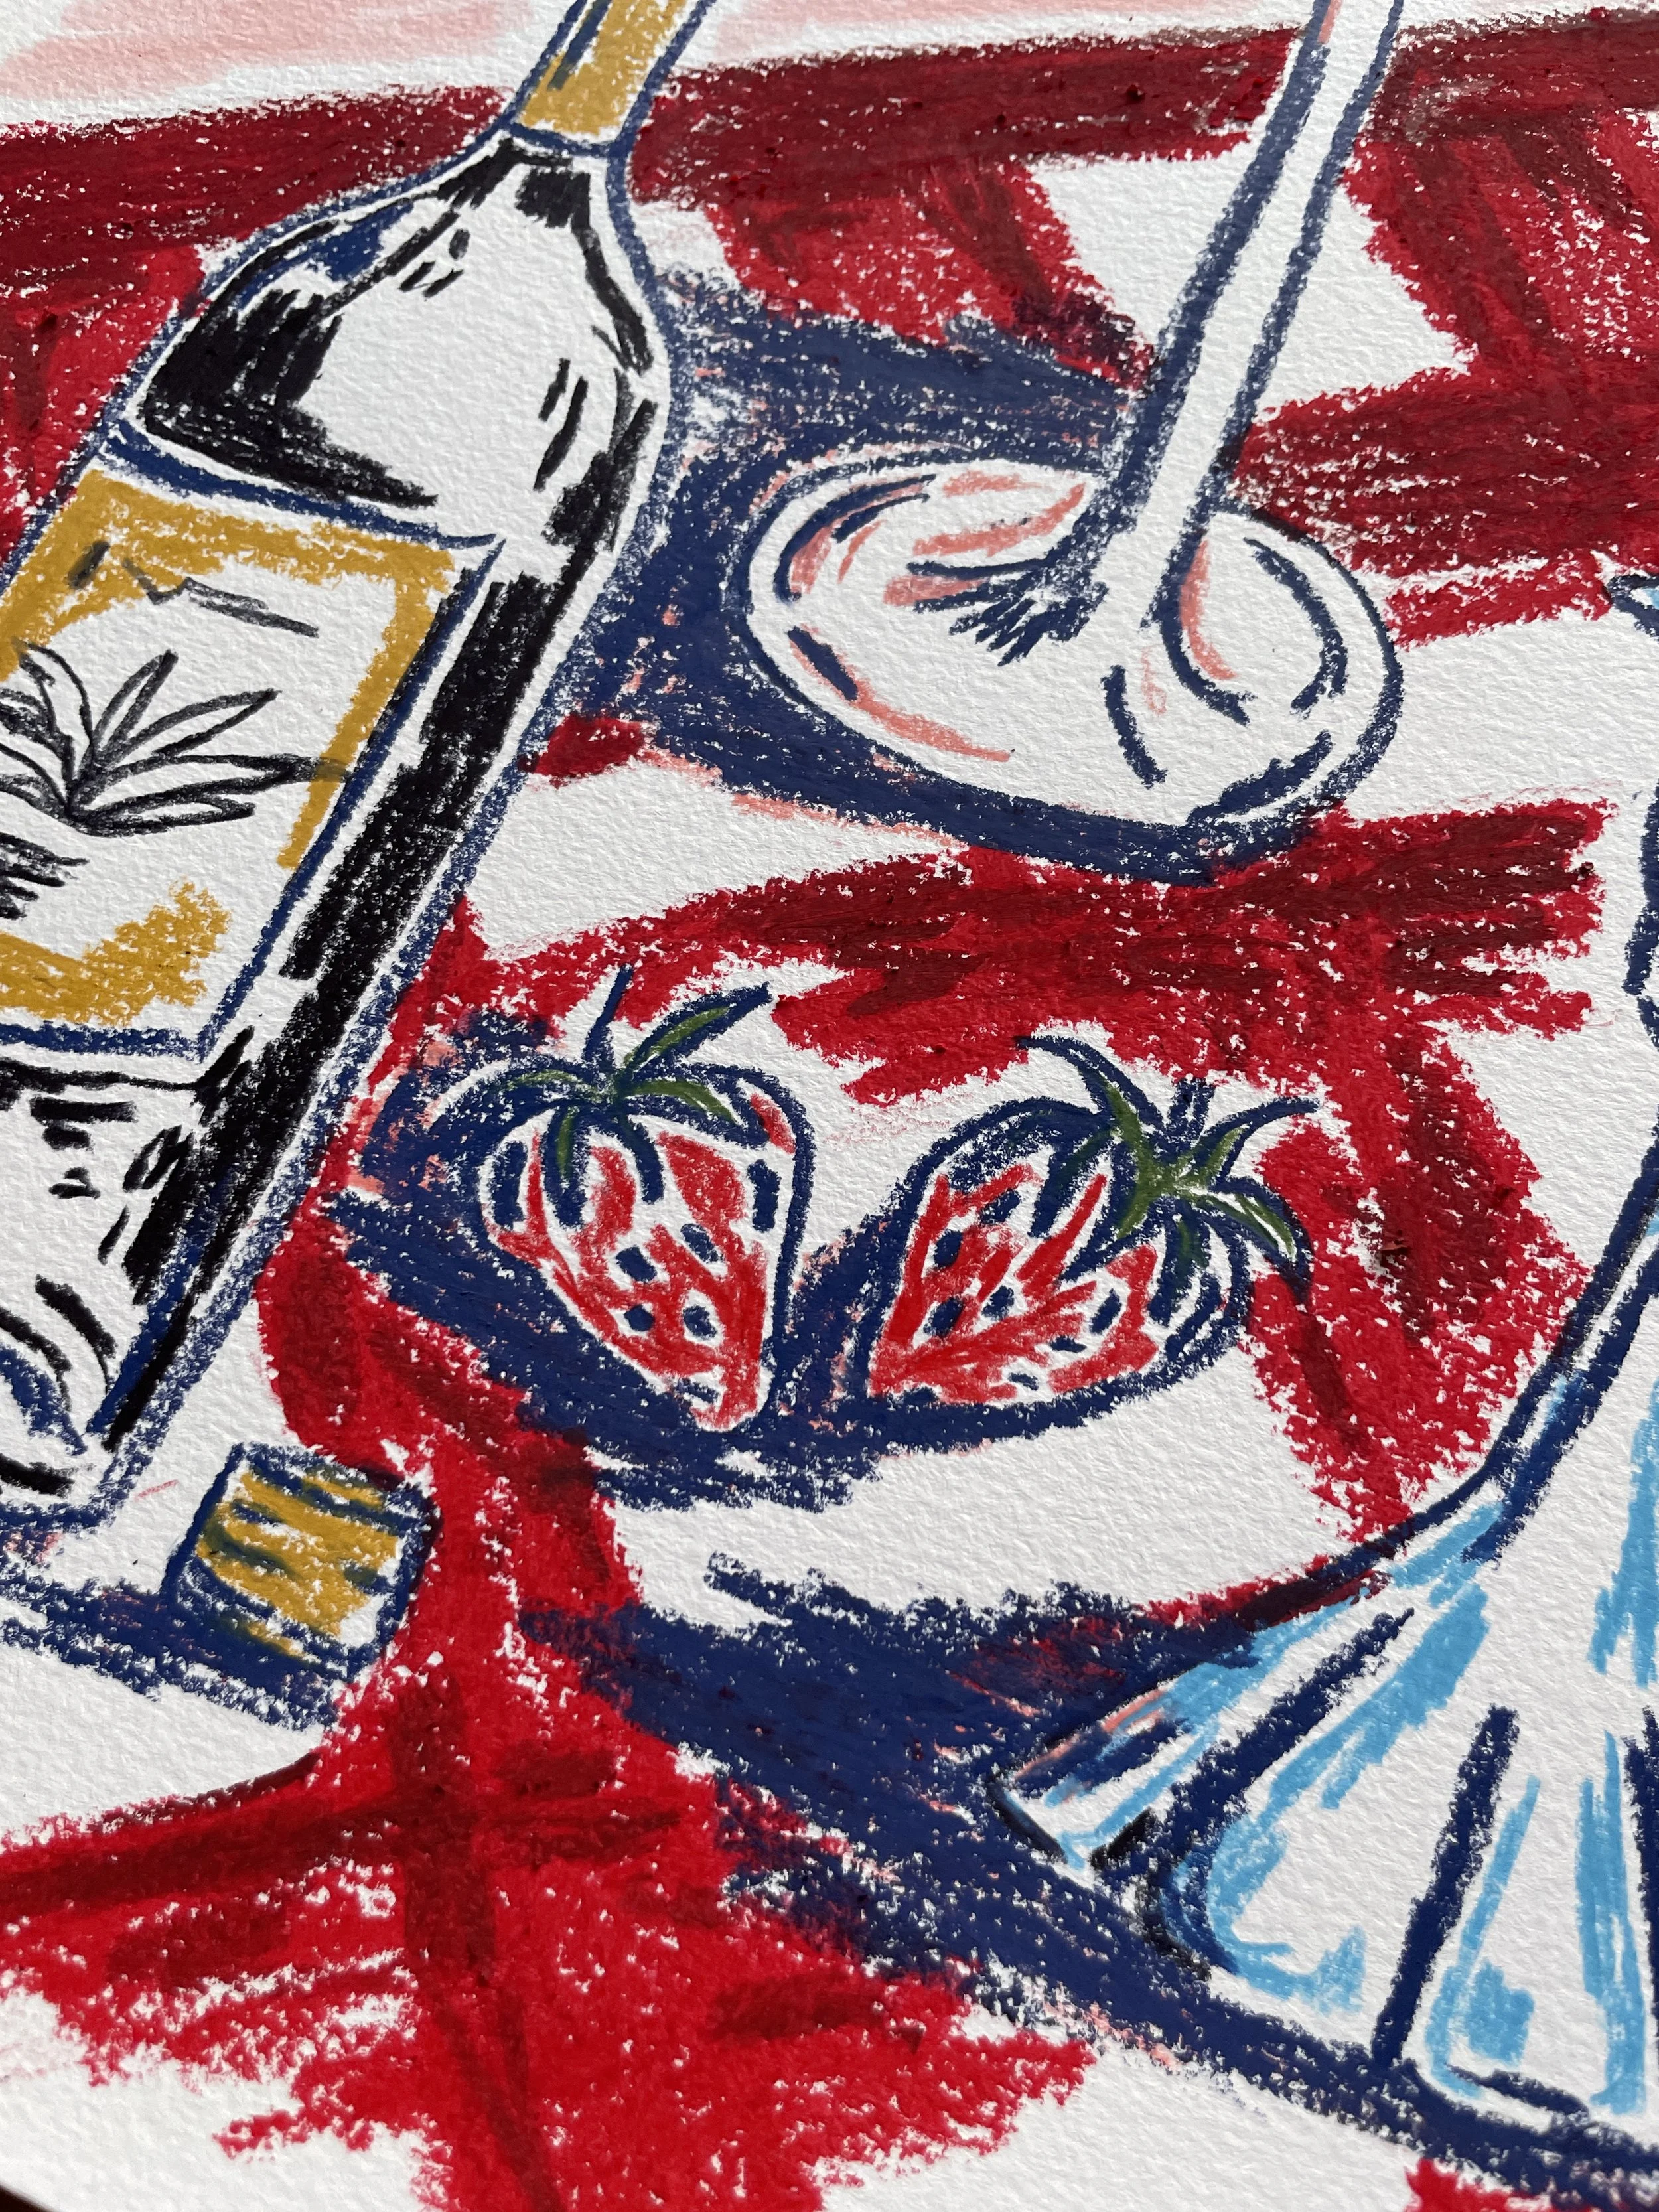
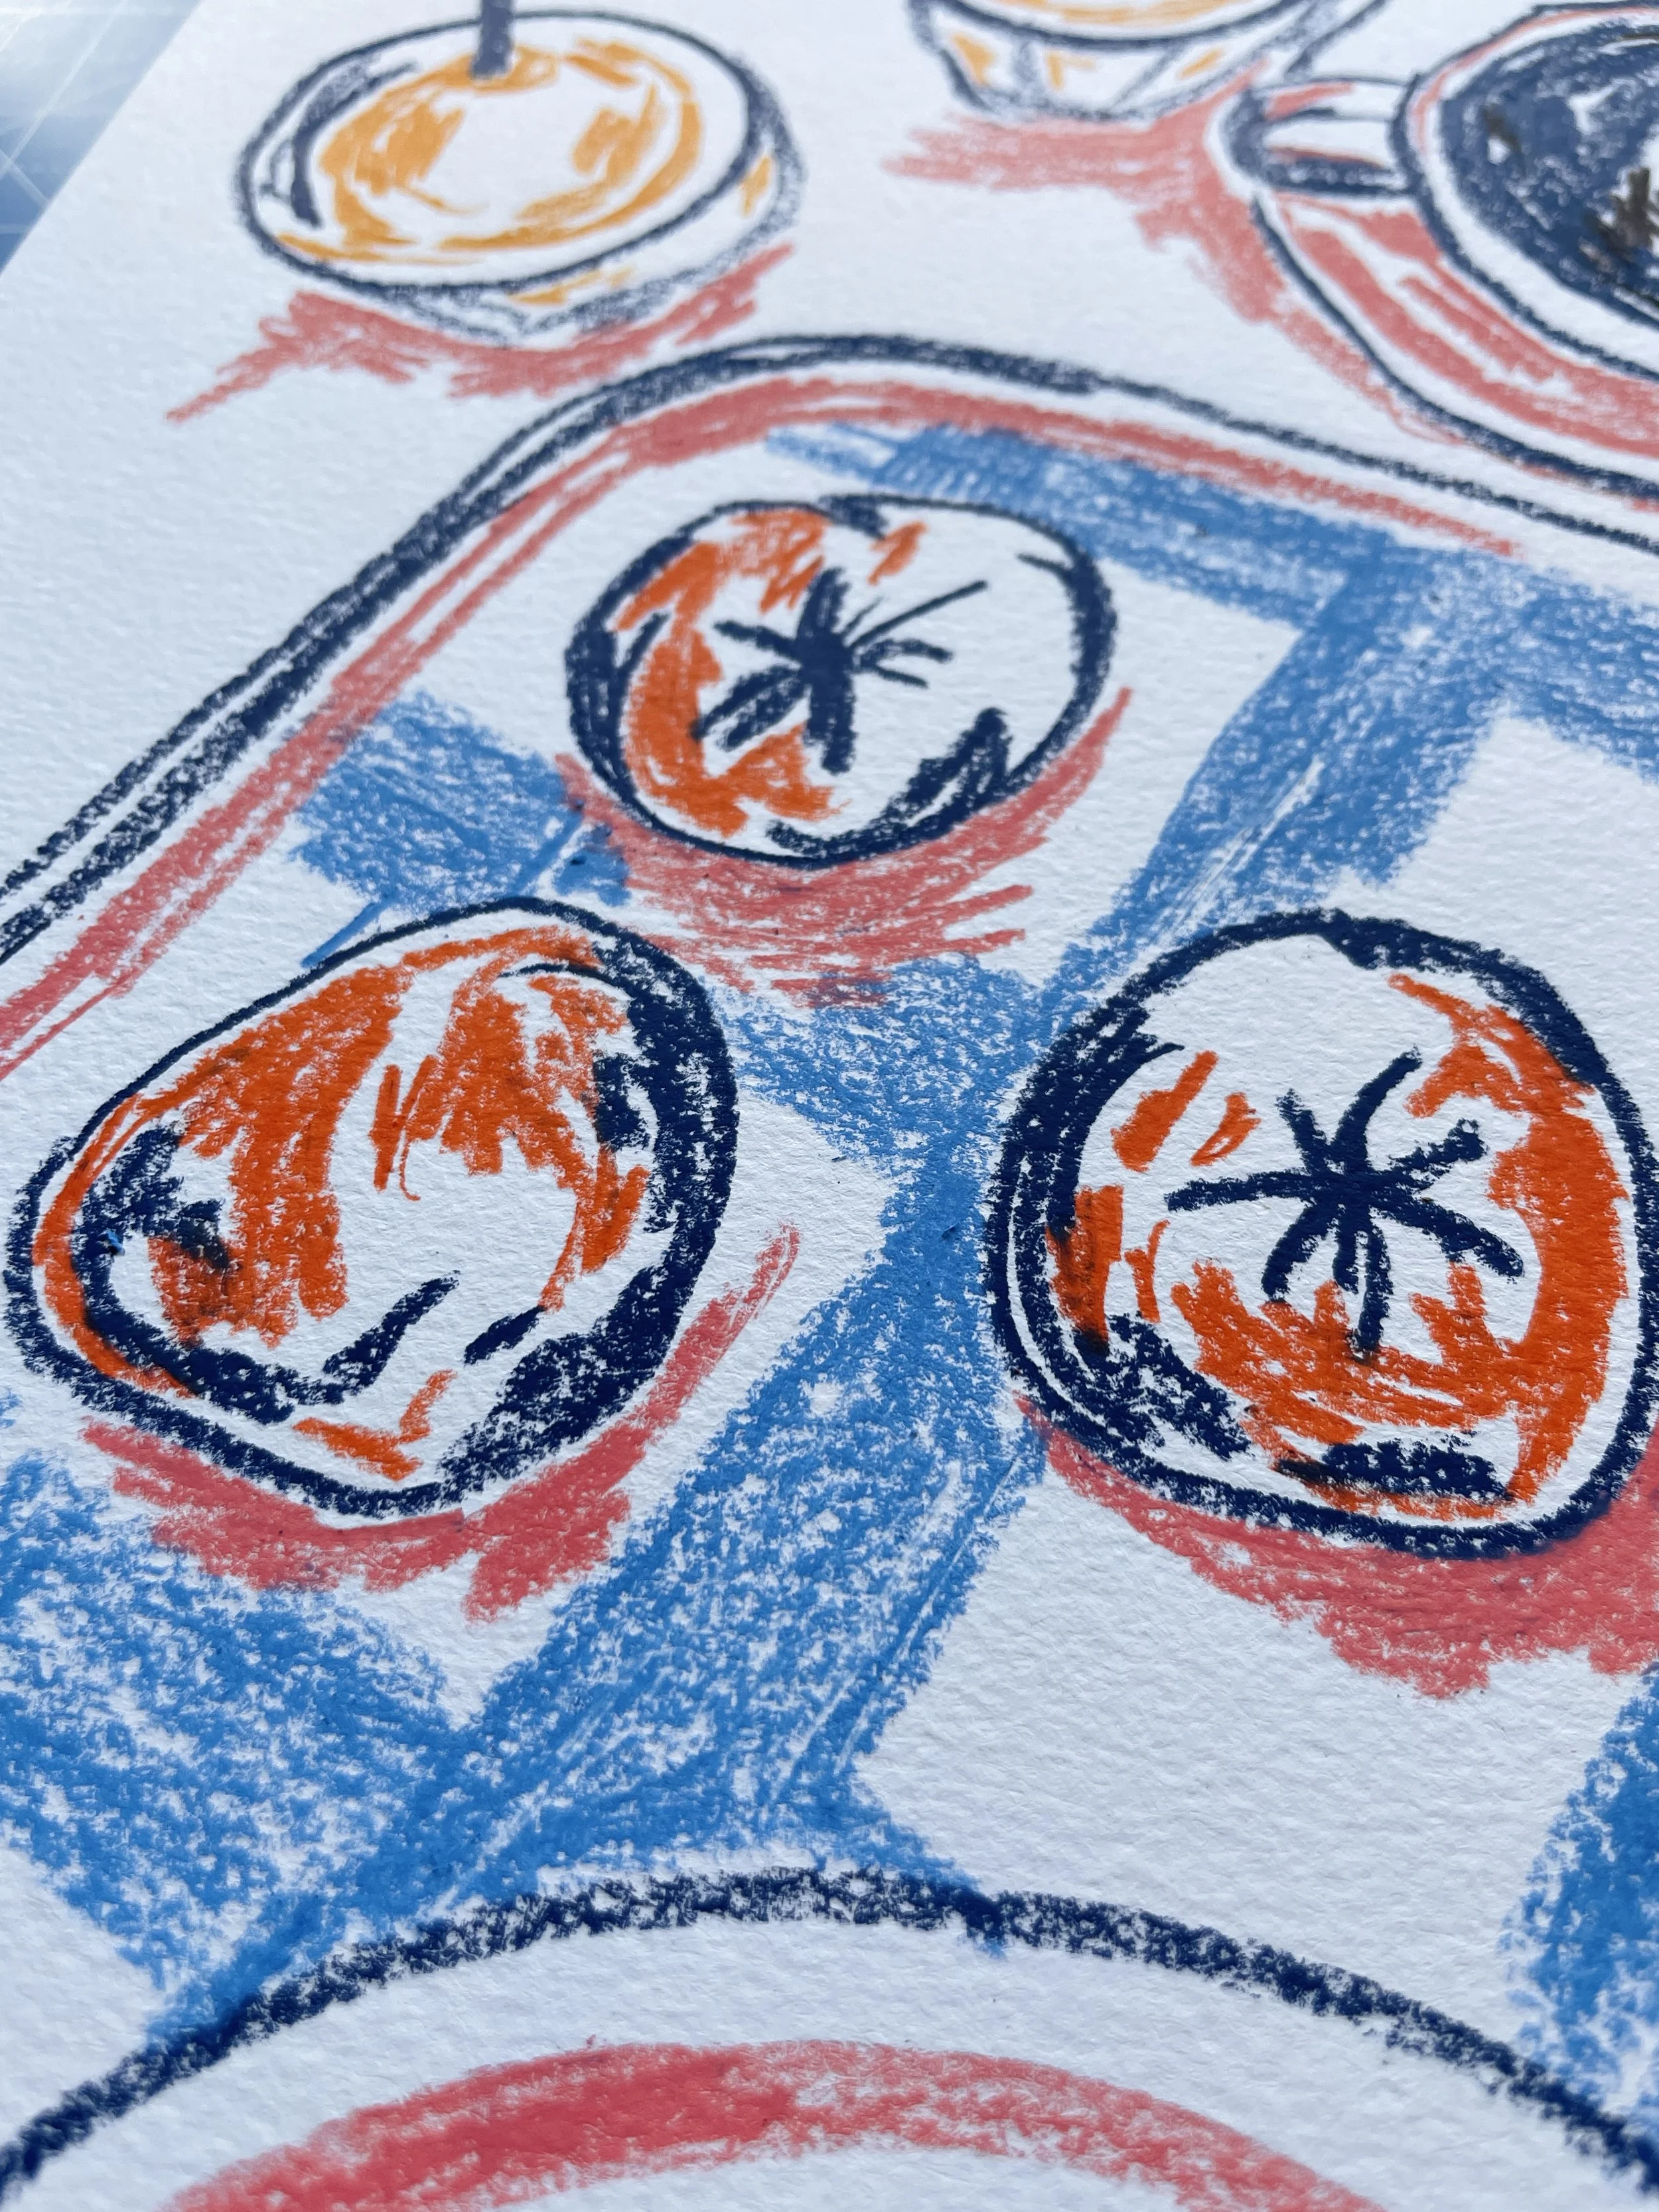
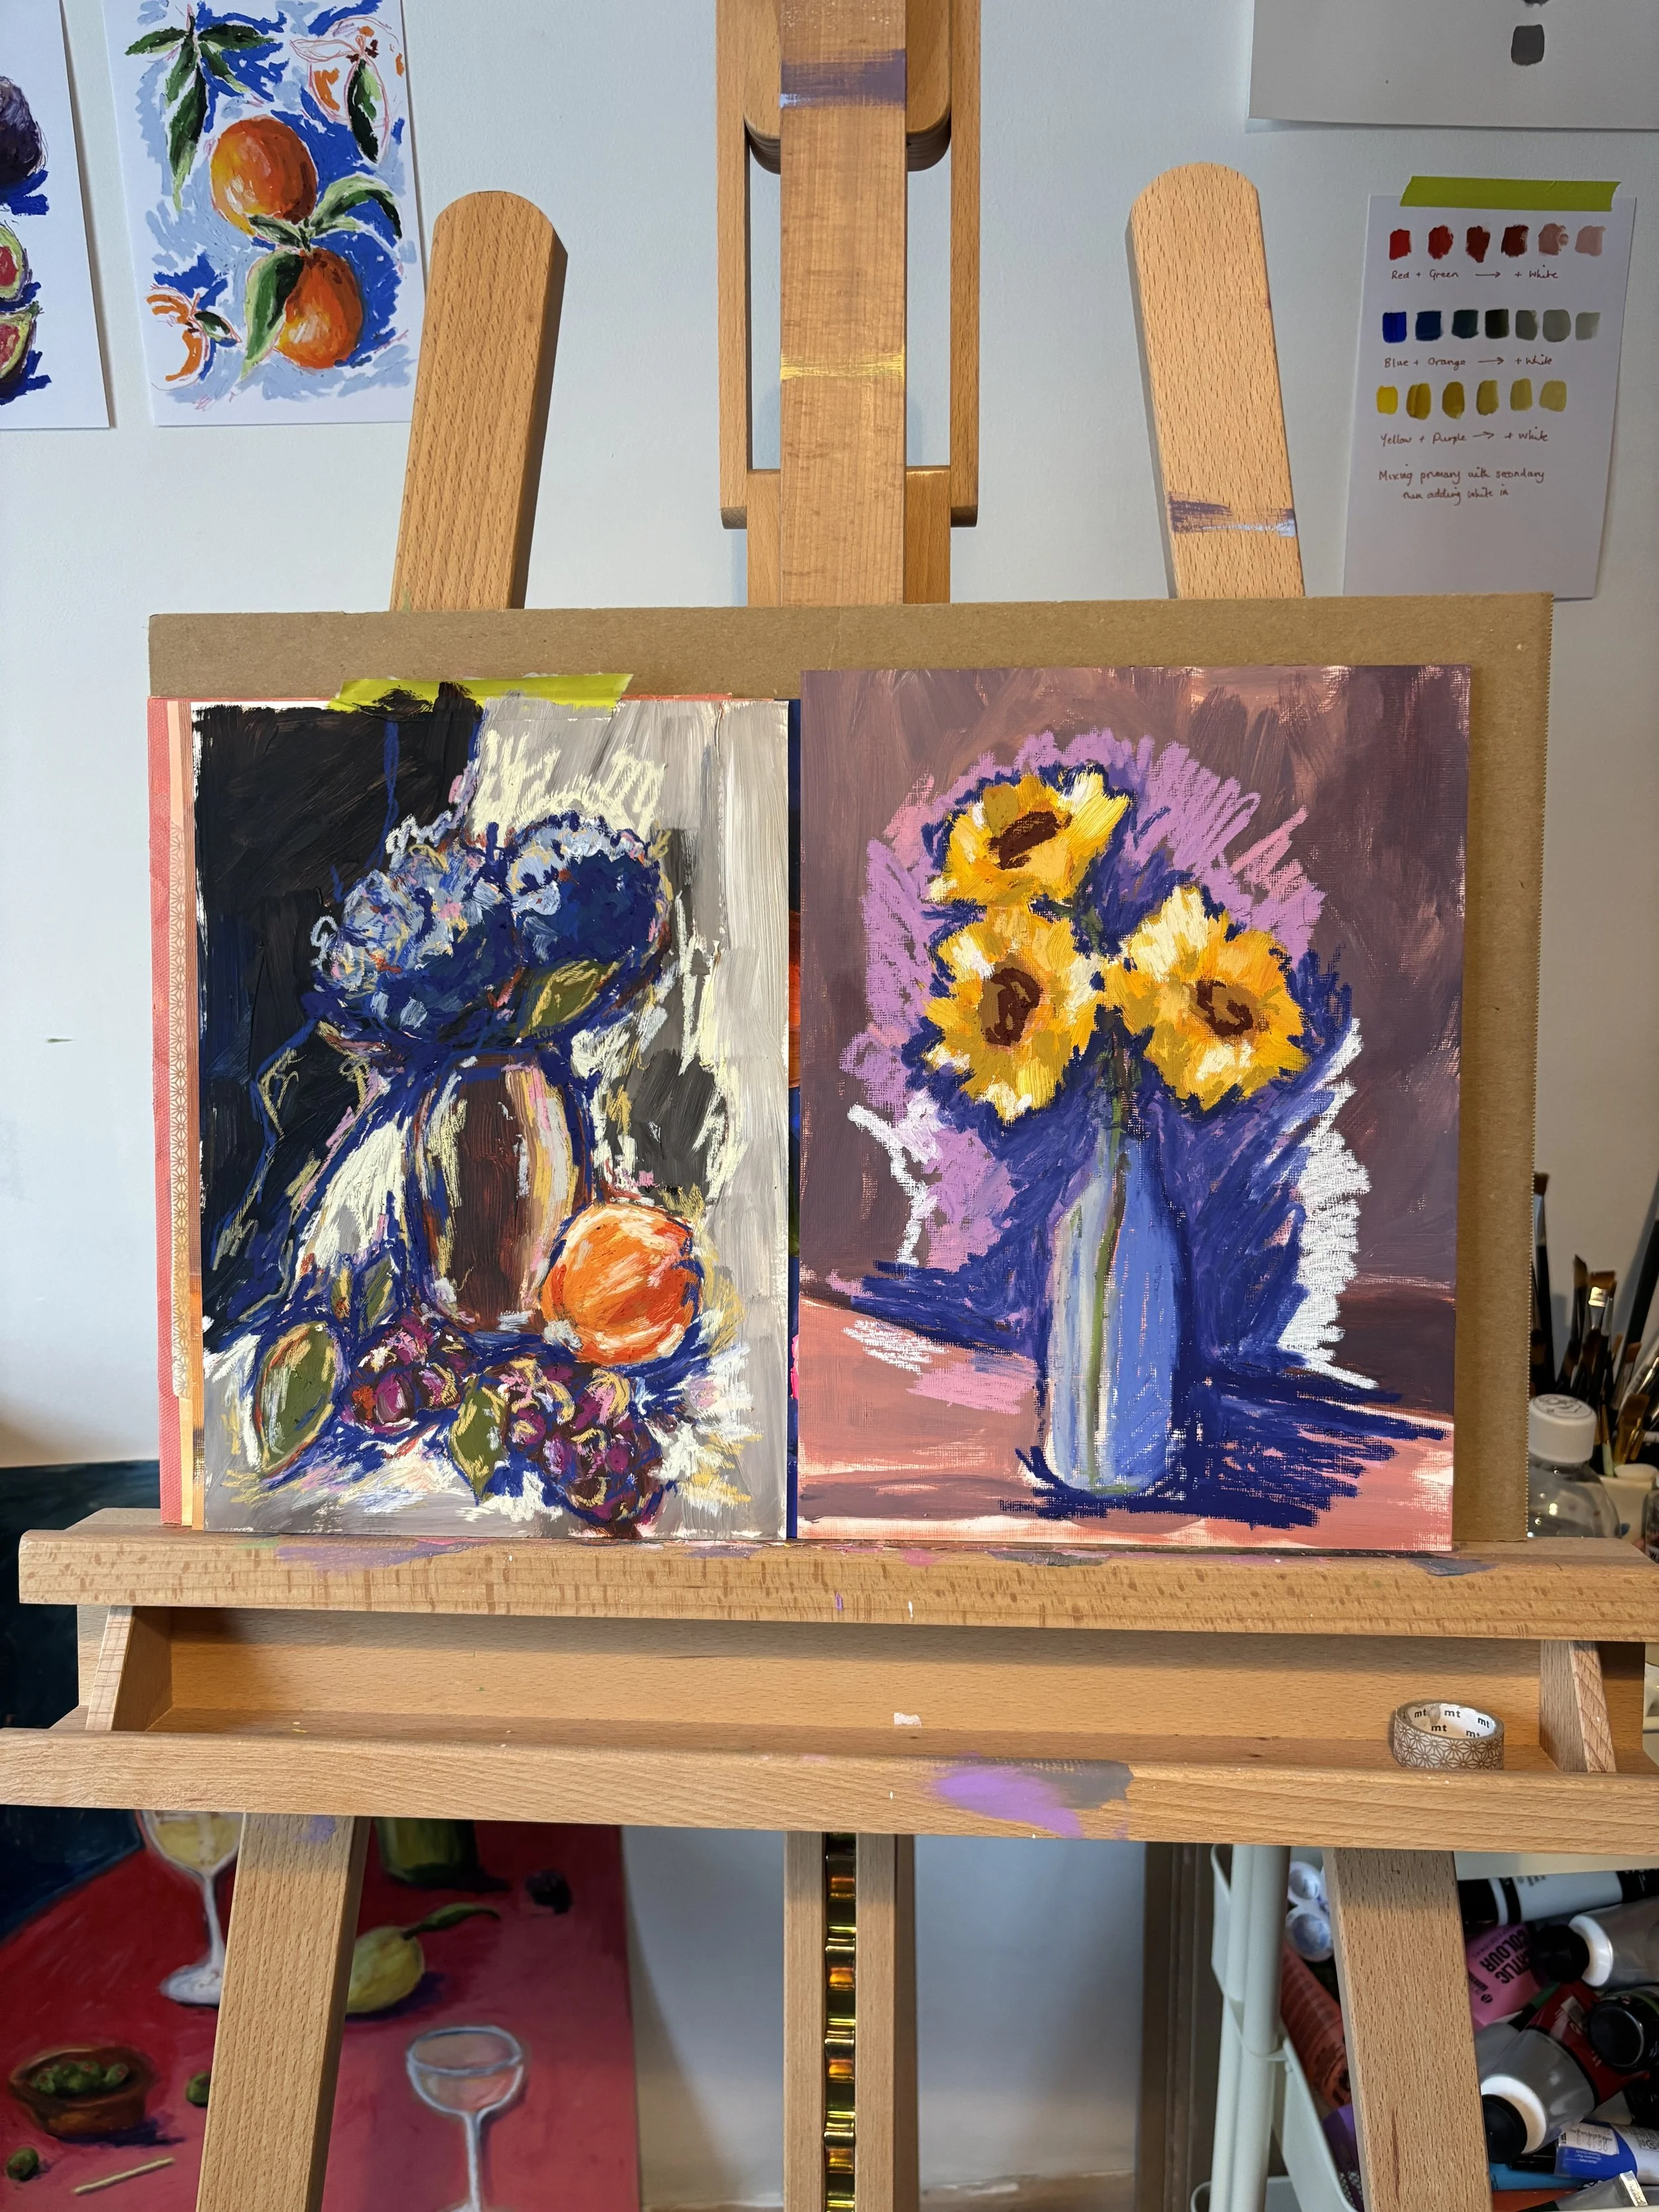
As a mixed media artist and illustrator, one of my favourite things is to create lots of layers and texture in my work. I love the colour, depth and movement you can find by mixing different mediums together.
Each time, you create something unique and expressive because you’ll never be 100% sure of how they’ll combine, keeping the process exciting and playful.
Whether you’re looking for ideas of materials to use or you want to know more about the specific materials I use, you’re in the right place! Let’s go!

What’s in my pencil case?
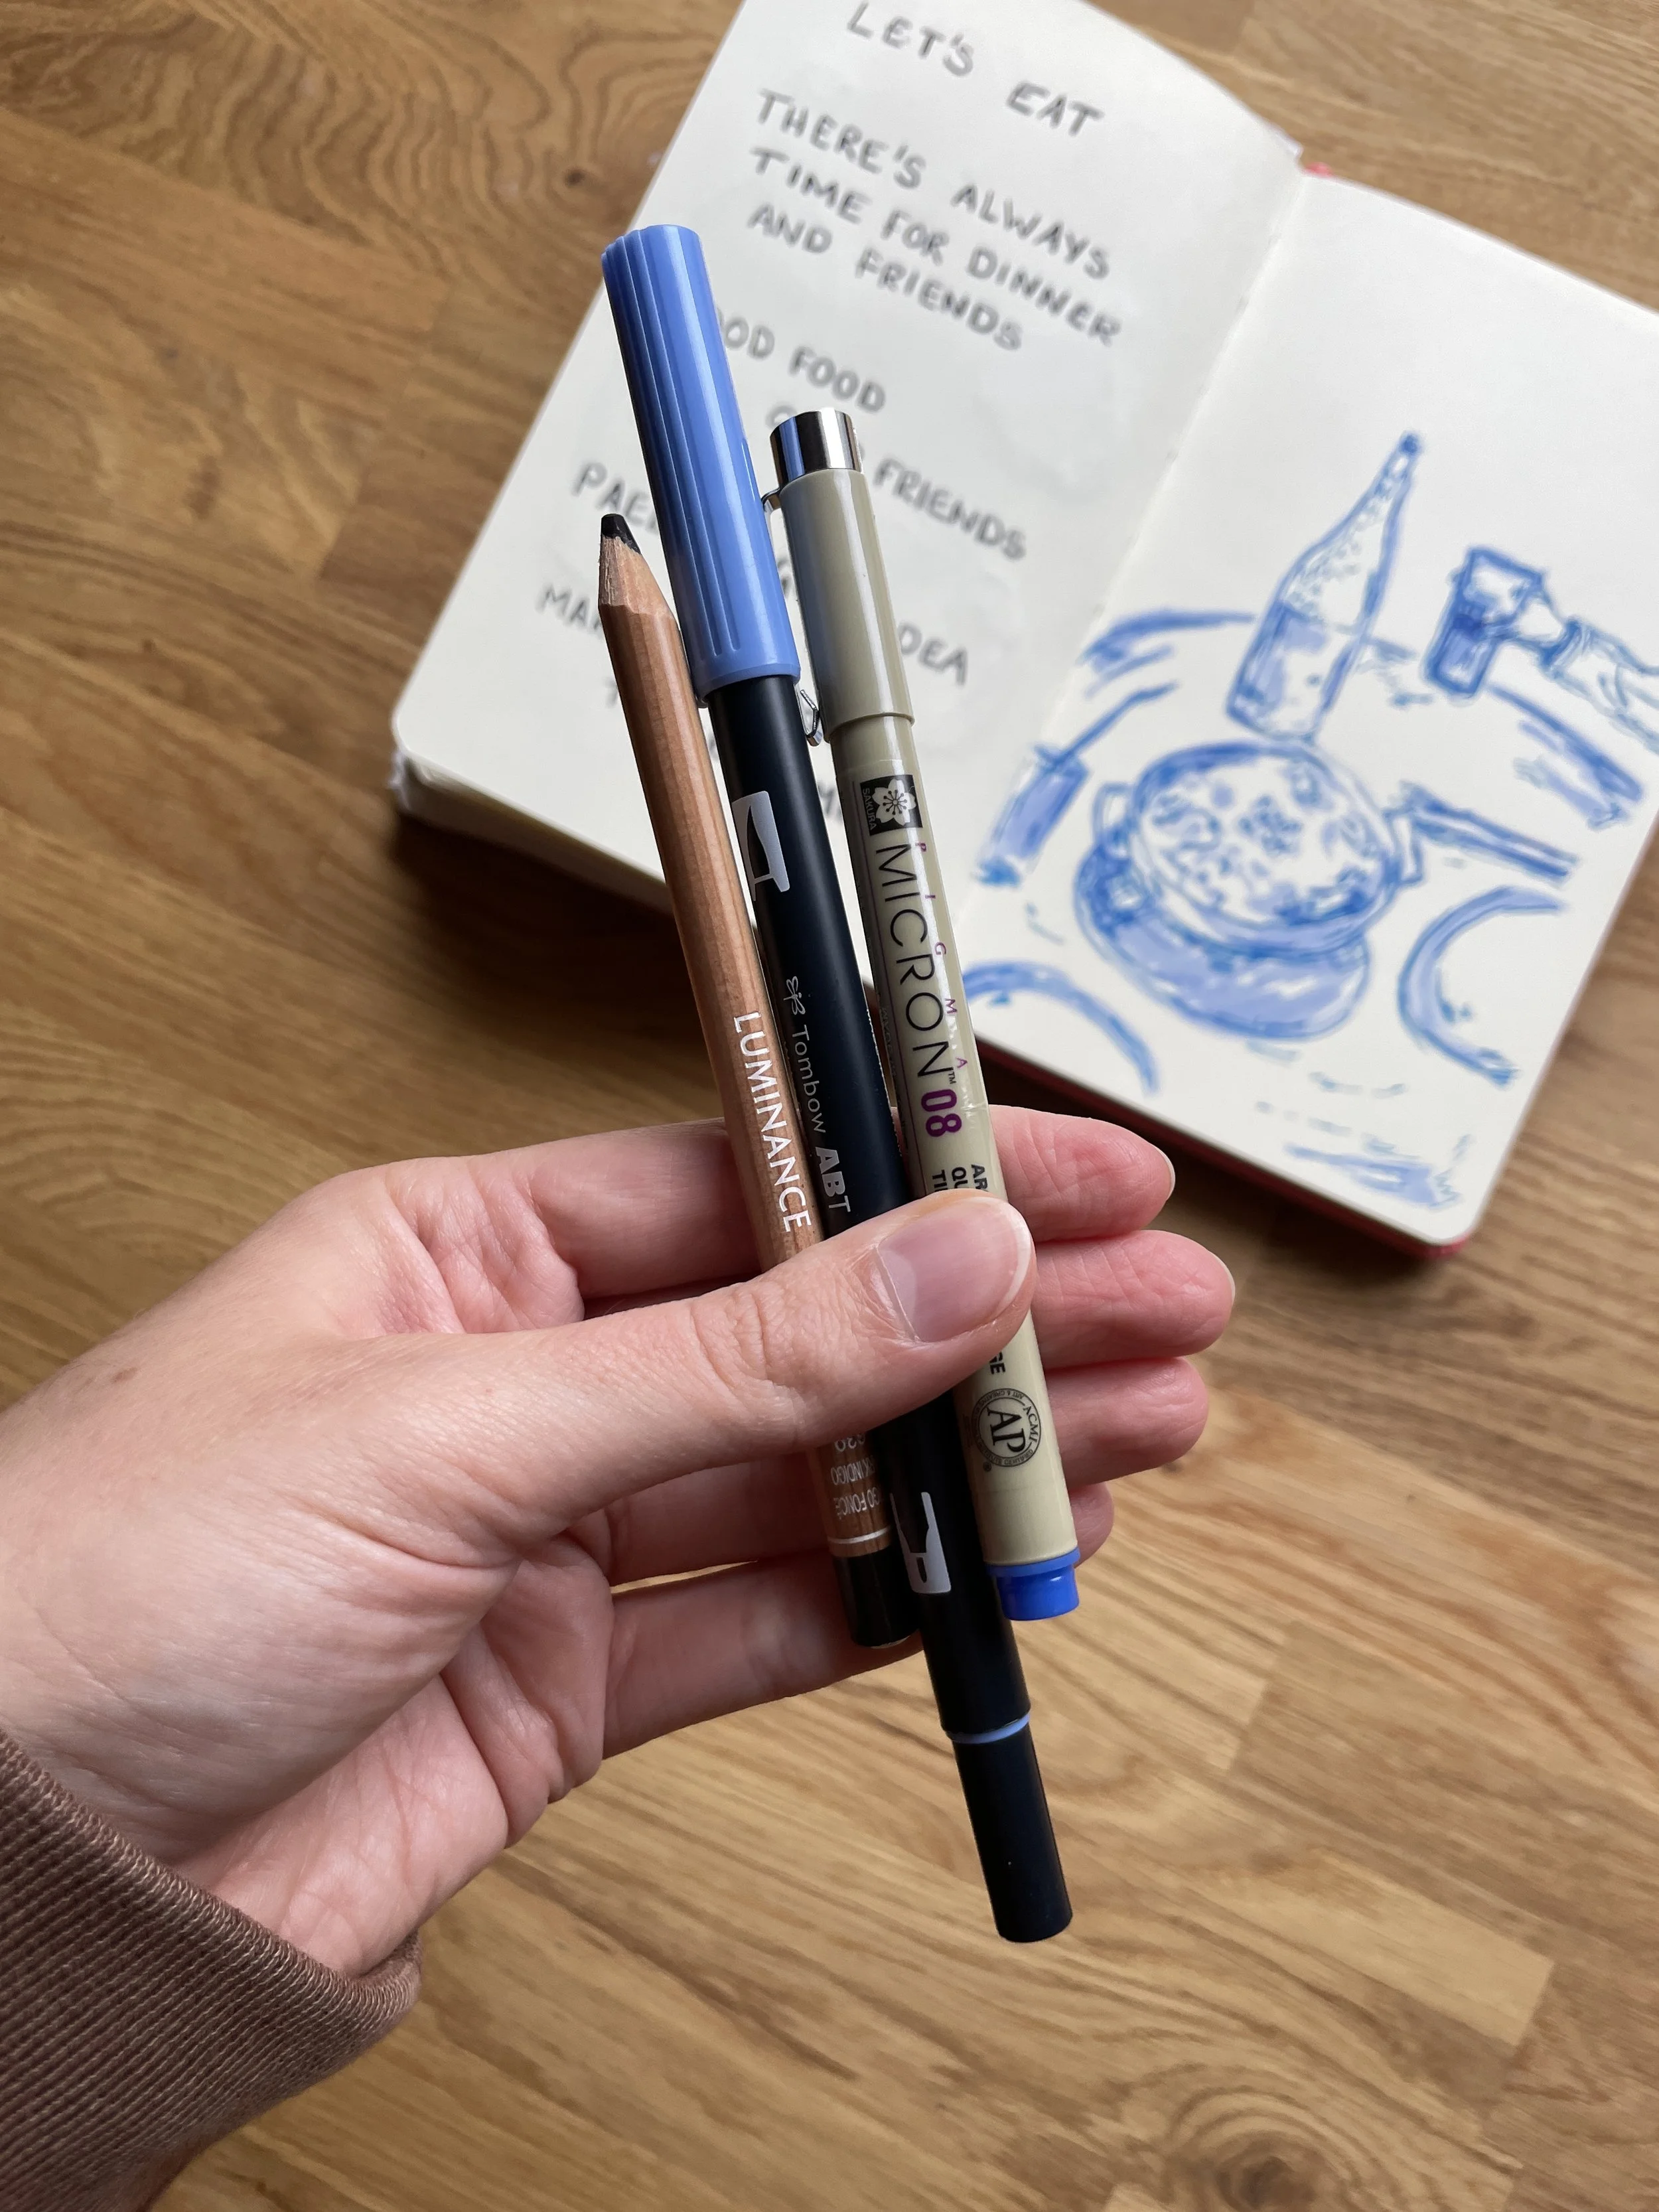
Luminance Pencils - Caran d’Ache
These were the first art material I really fell in love with and are the most fantastic colour pencils.
The colours are stunning and the pay off is always fantastic. They add so much texture on their own but they also just feel great to use. There’s a certain amount of softness to the pencils that creates this great connection to your work whilst you’re creating.
My personal favourite colours that I commonly use are 571 Anthraquinoid Pink for pops of colour and detail, and 639 Dark Indigo for depth and definition.
Shop UK and International: Caran d’Ache luminance pencils
Shop US: Caran d’Ache luminance pencils
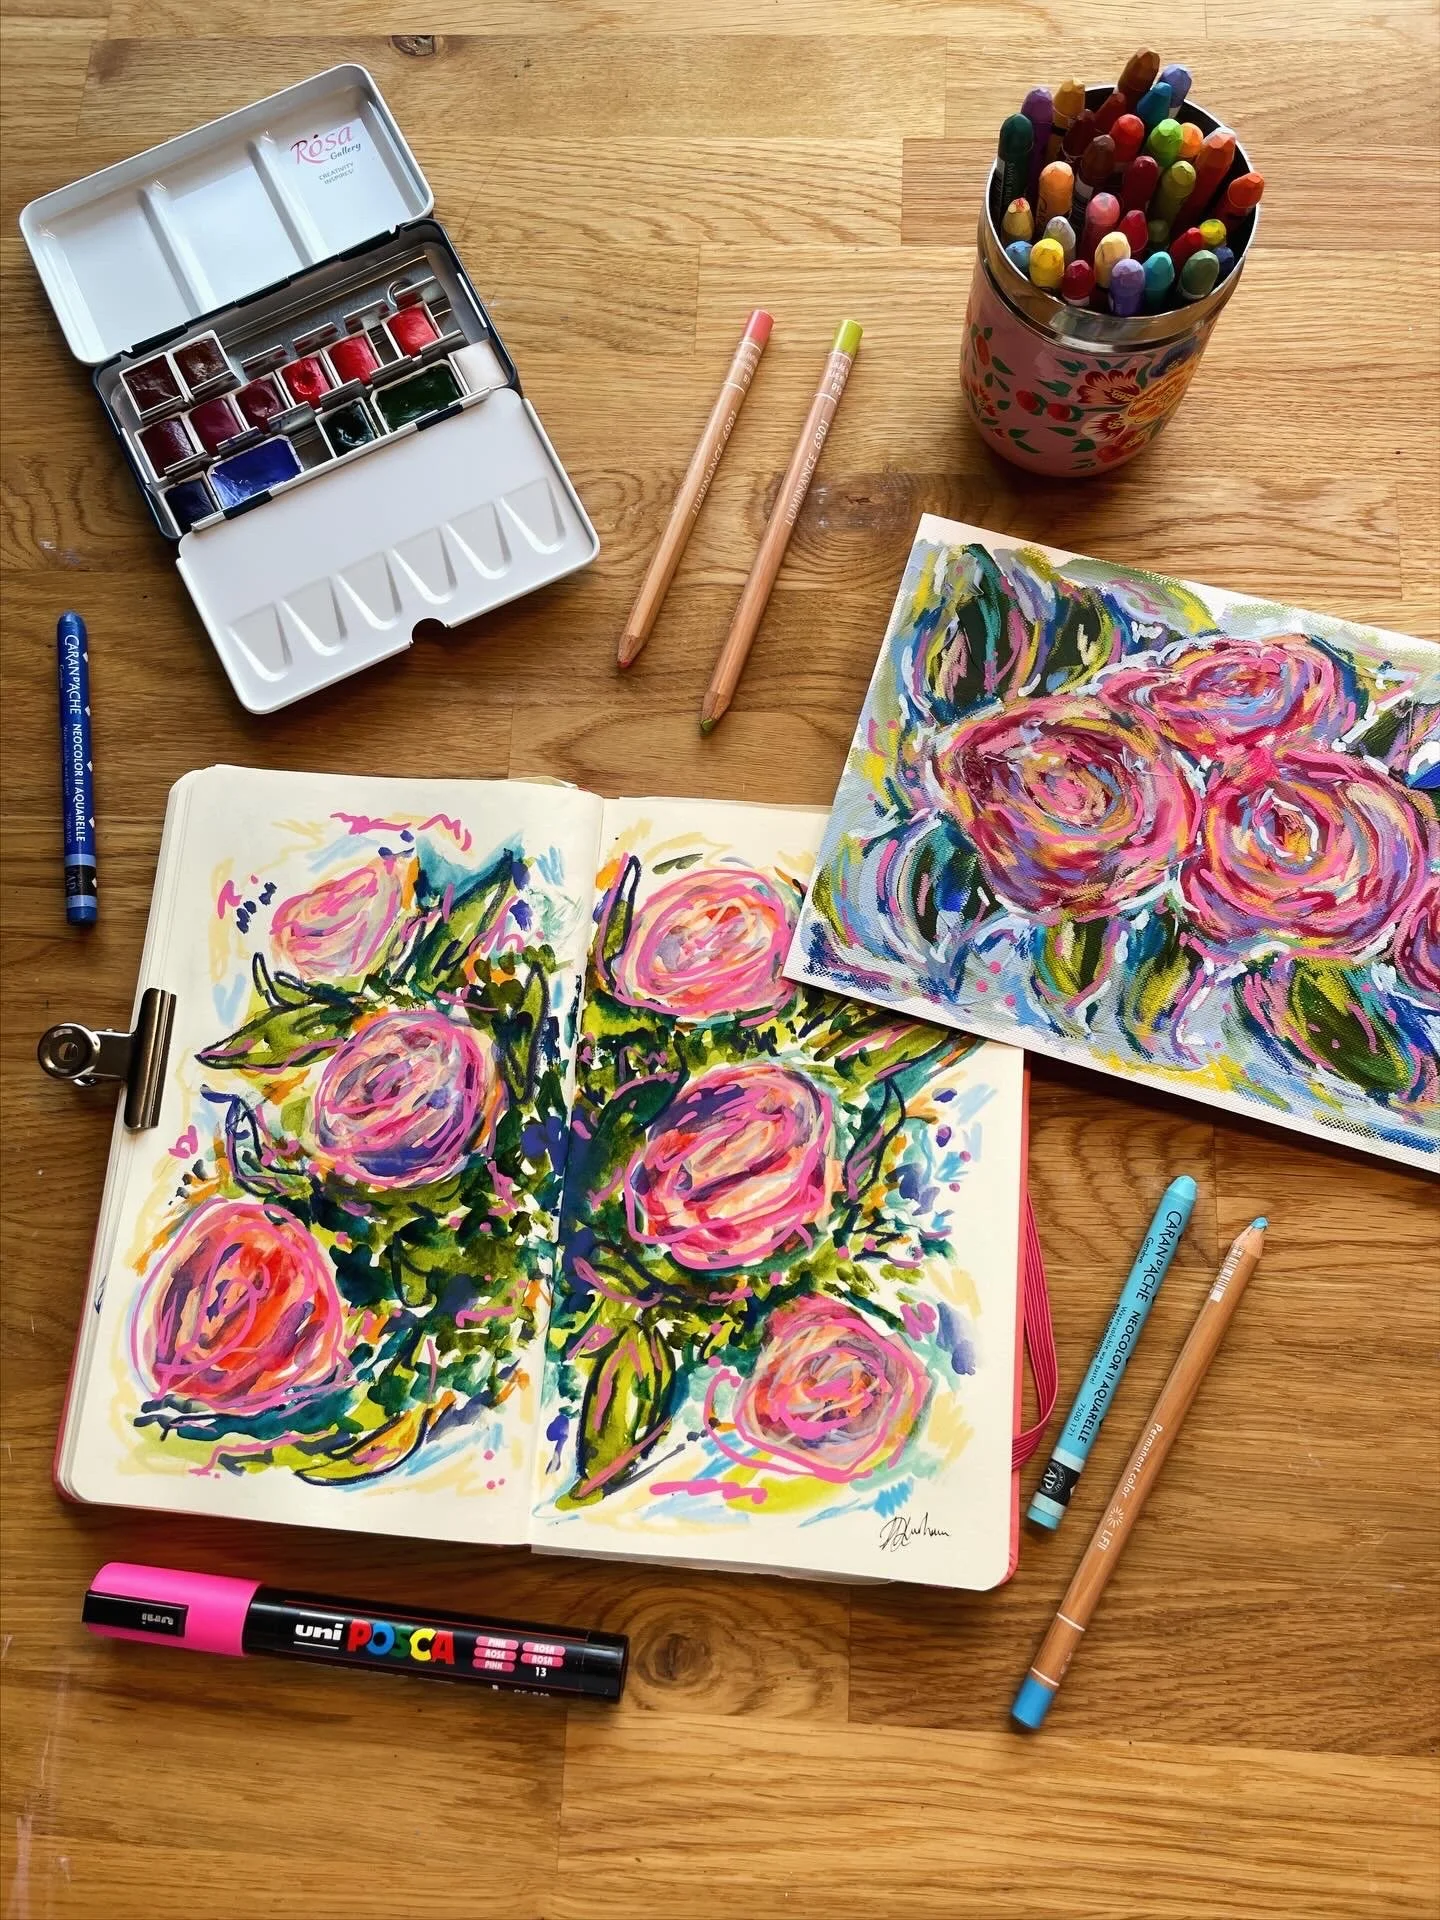
Neocolor 2 Wax Pastels - Caran d’Ache
You’re probably gathering that I am a fan of Caran d’Ache now. The quality is just so good, I can’t help but love using their materials. These wax pastels are also water soluble so you can also use them like watercolour paints.
I tend to use the pastels to add lots of heavy texture to a piece. They’re somewhat similar to an old school crayon, which really helps to keep your lines quite loose. The pastels are also pretty affordable considering the colour, quality and that they’re dual purpose.
Shop UK and International: Caran d’Ache Neocolor 2s
Shop US: Caran d’Ache Neocolor 2s
Oil Pastels - Sennelier
If you like oil pastels, you have to try out Sennelier. These pastels are almost like butter so they add a whole lot of texture to a piece, making it feel more like a painting than a drawing. They’re the perfect pastel for blending with.
The colour pay off is also super intense so that’s great if you want to make something really pop or add more dimension. They layer really well on top of things, but be prepared to get a bit messy!
Shop UK and International: Sennelier Oil Pastels
Shop US: Sennelier Oil Pastels
Neopastel Oil Pastels - Caran d’Ache
A great mid-point pastel between a firmer texture like the Pentel pastels and the very soft Sennelier pastels. These three different pastels are my go-to combination when creating with oil pastels.
There’s a great range of colours in the Neopastel collection and they’re slightly easier to control than the Sennelier pastels if you want more defined lines.
Shop UK and International: Caran d’Ache Neopastel
Shop US: Caran d’Ache Neopastel
Oil Pastels - Pentel
Pentel’s pastels are the best budget wax pastel I’ve used as you can get a large set, with a wide variety of colours, for an affordable price.
They feel a bit softer than the Neocolor 2 pastels so they’re great for adding a different texture and if you’re searching for a specific shade, they probably have something that covers it in the sets.
I like using these pastels in my bigger artworks so I can play with more colour options.
Shop UK and International: Pentel Pastels
Shop US: Pentel Pastels
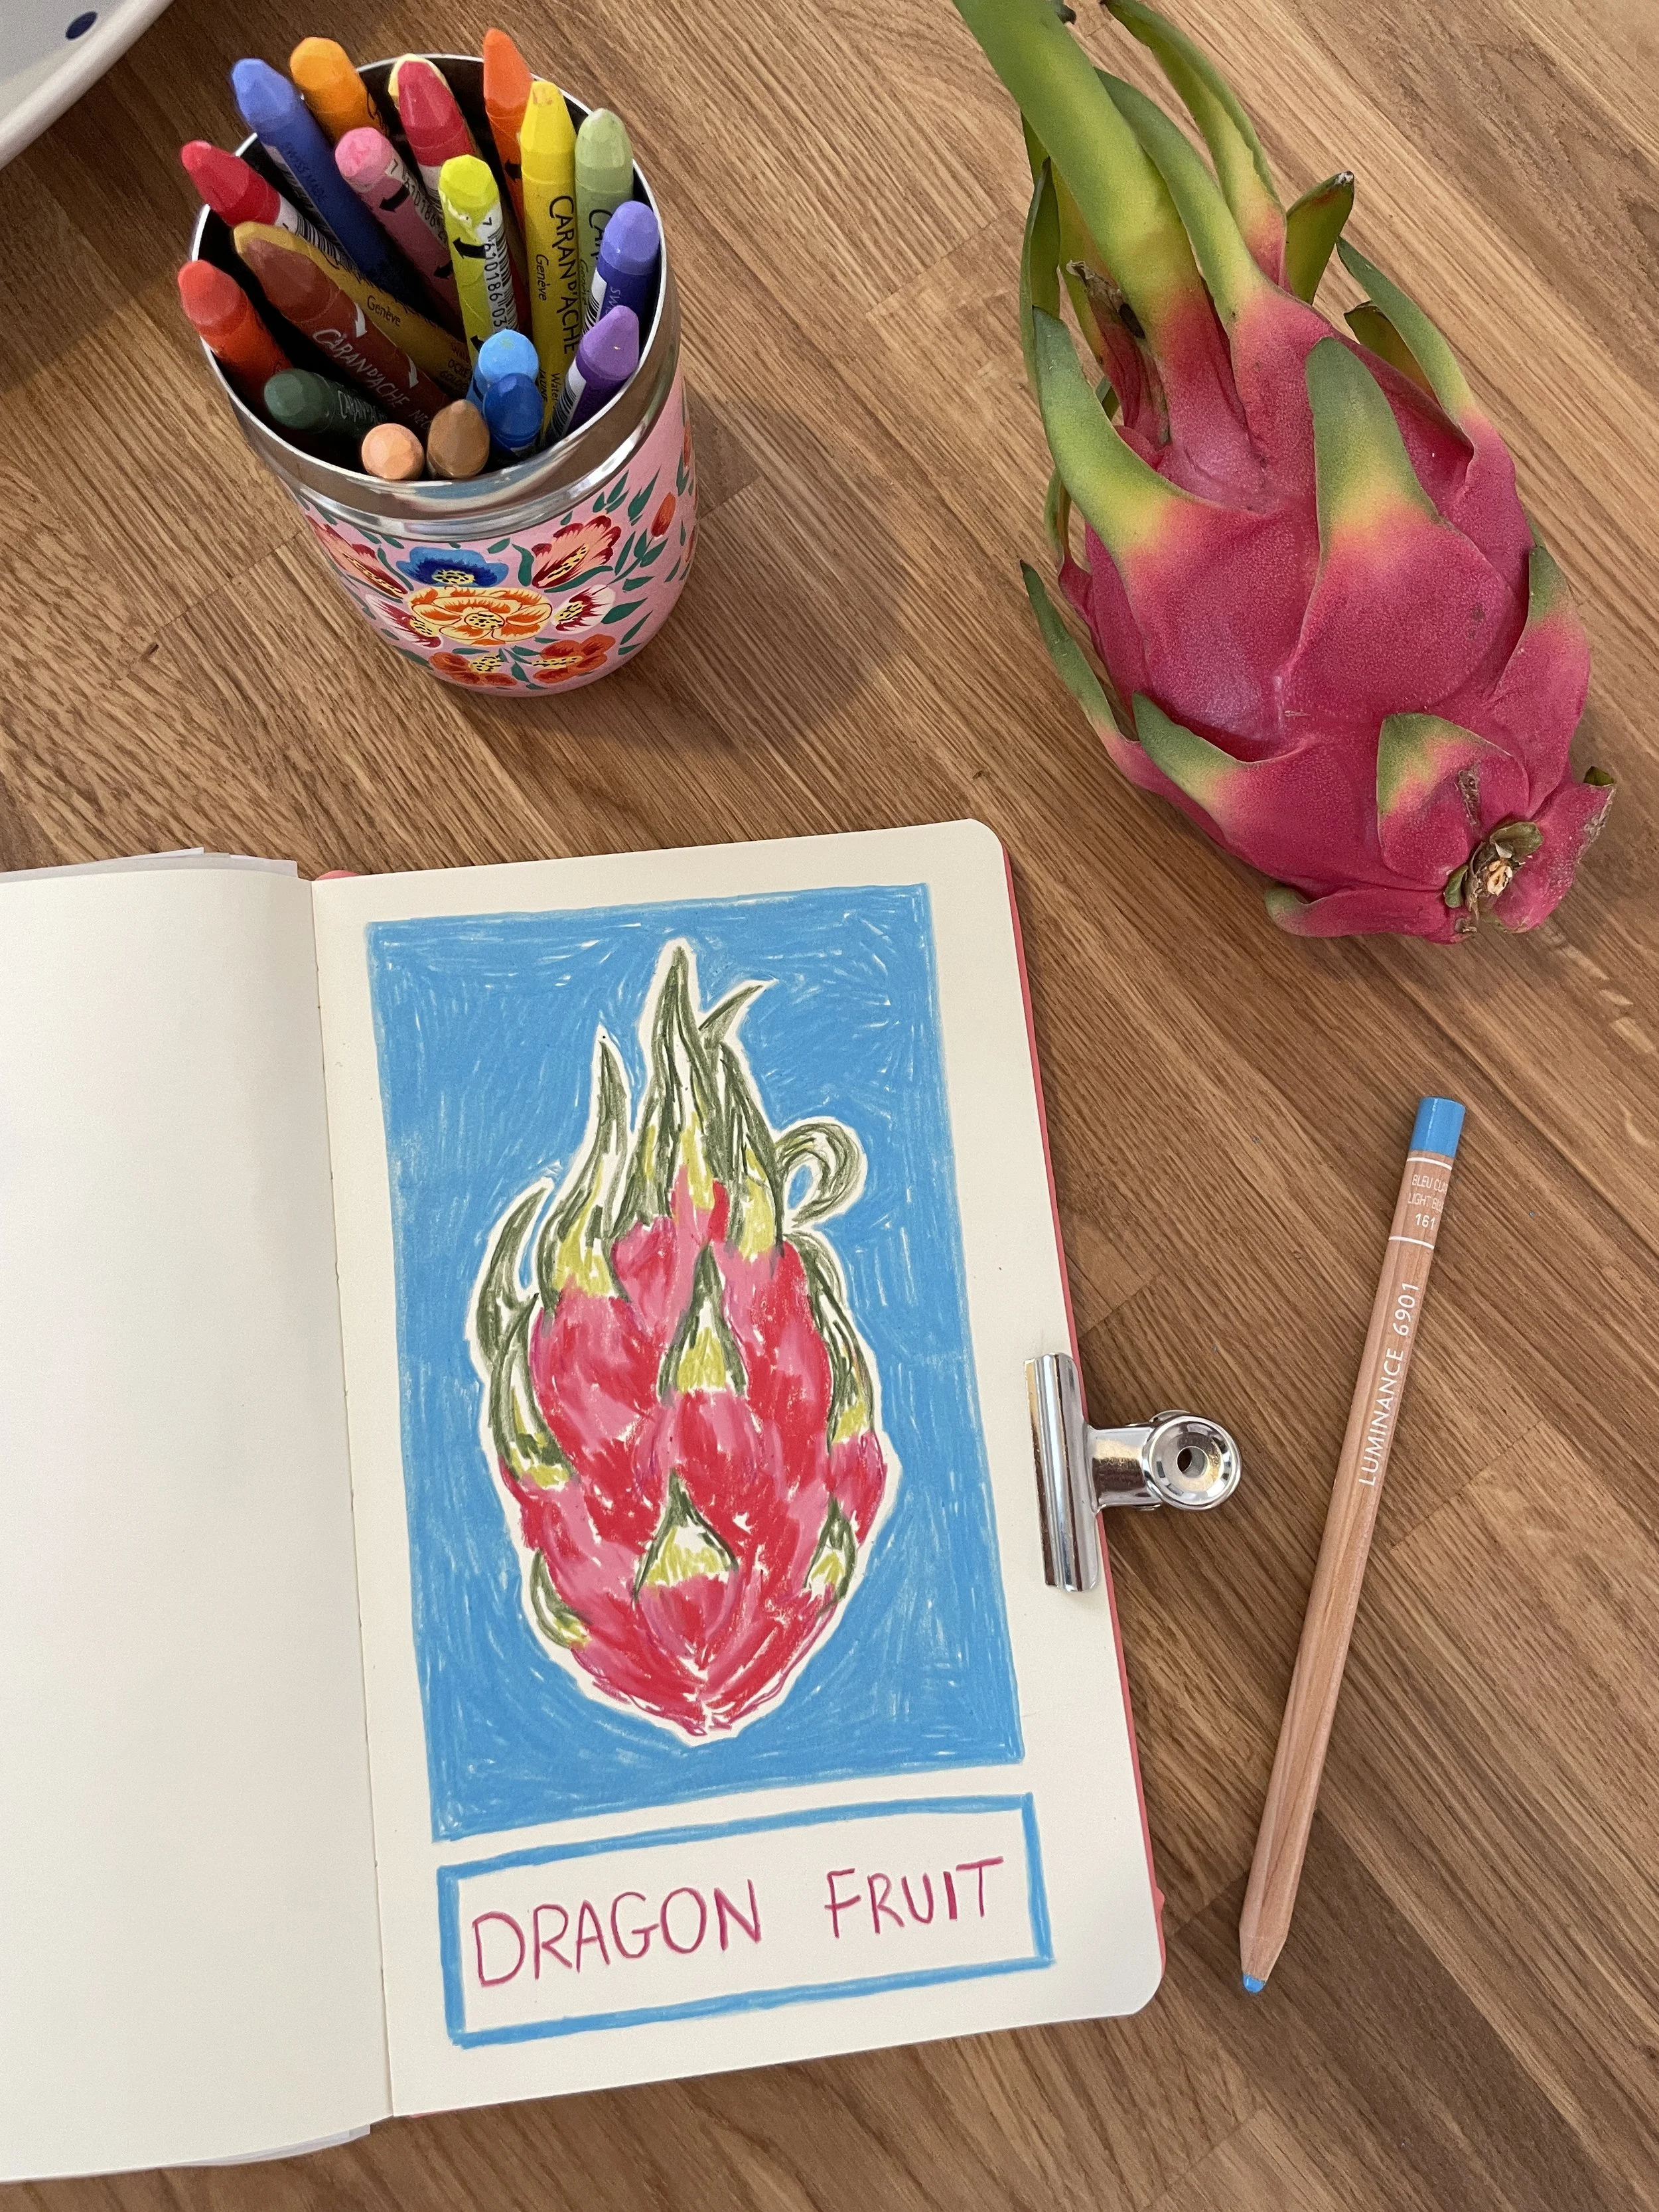
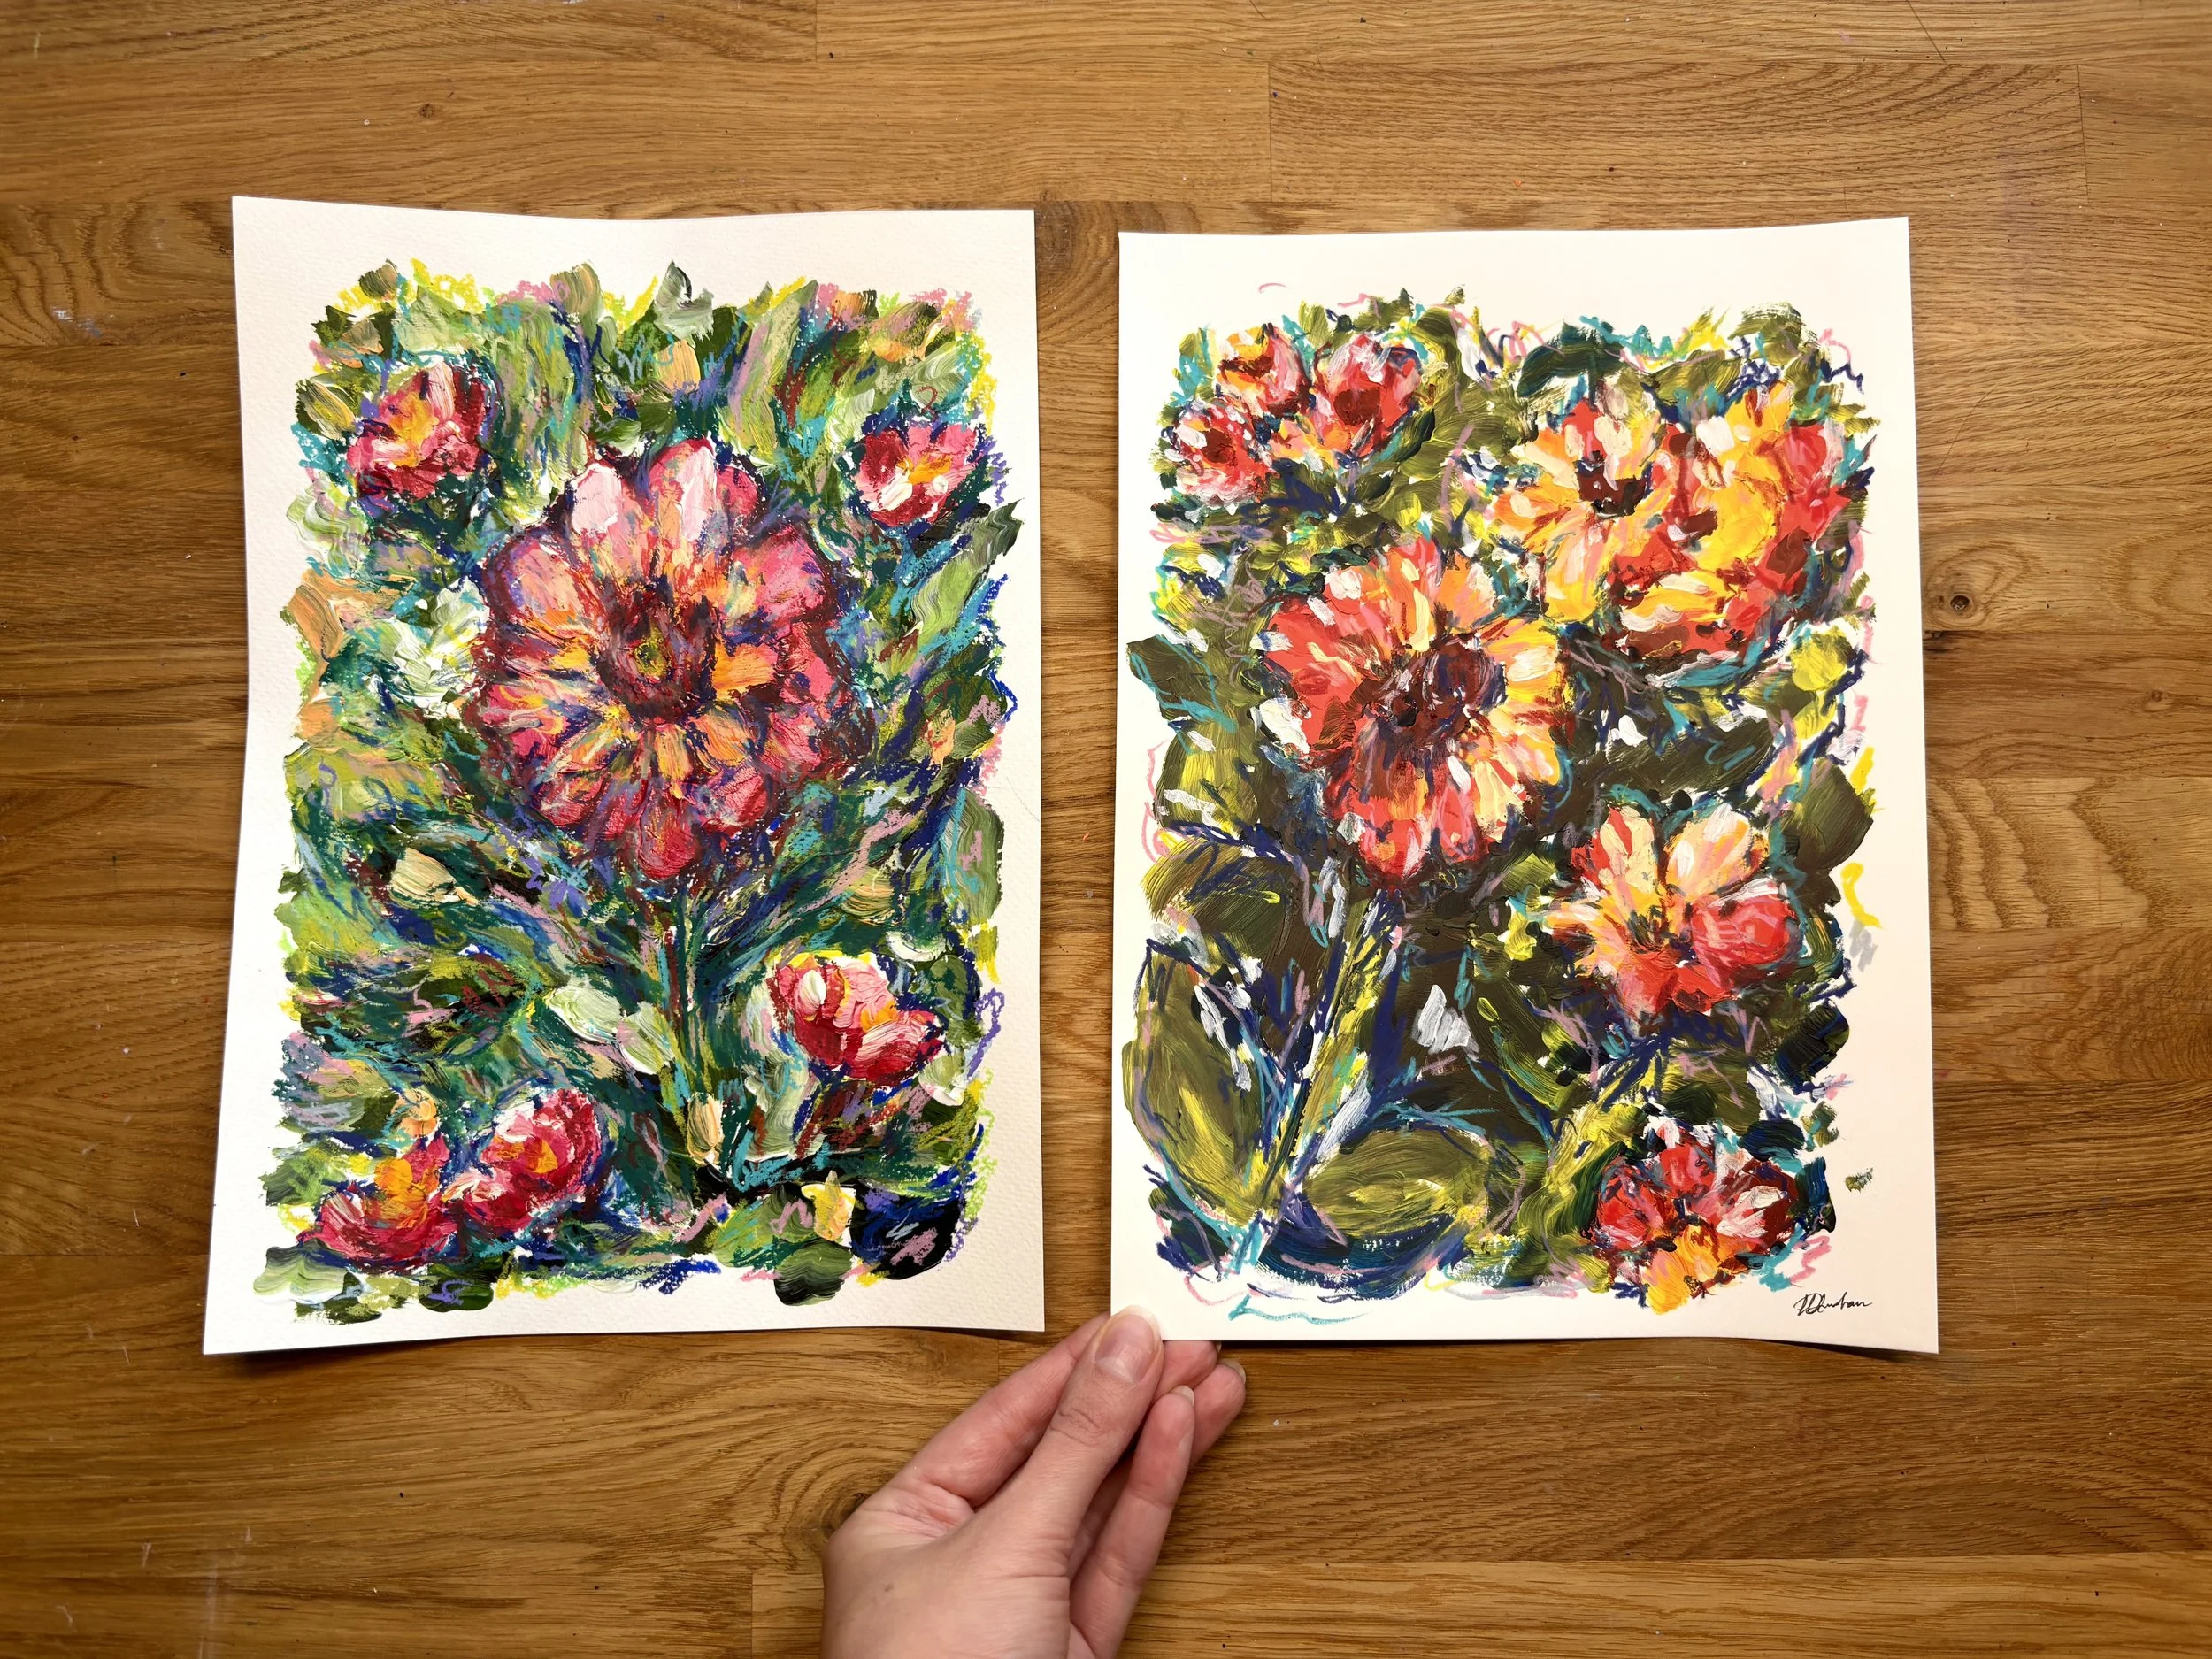
Oil Pastels - Meeden Art
A new favourite for me! The texture and colour variety of these pastels is fantastic. They’re a great combination of buttery soft, but not too messy and ‘squishy’. If you find the Sennelier pastels are a bit much to work with, these will probably suit you much better.
Here’s a piece I created just using these pastels, so you can see the texture and colour payoff.
I recently collaborated with Meeden Art so you can get 12% off your order when you shop here or use code HANNAH12.
Shop Soft Oil Pastels
Dual Brush Pens - Tombow
Ecoline Brush Pen - Royal Talens
I use these two interchangeably depending on the piece as they both add a light, almost watercolour effect to the piece.
I typically use these pens as a background, for a wash of colour, to roughly map out the shape of something before going in with a pencil or a liner, or to add a rough fill of colour to elements within the artwork.
I find I reach for the Tombow’s more for smaller areas as you can be a bit more specific with the brushes and I use the Ecoline brush pens for larger areas.
Shop UK and International: Tombow Brush Pens or Ecoline Brush Pens
Shop US: Tombow Brush Pens
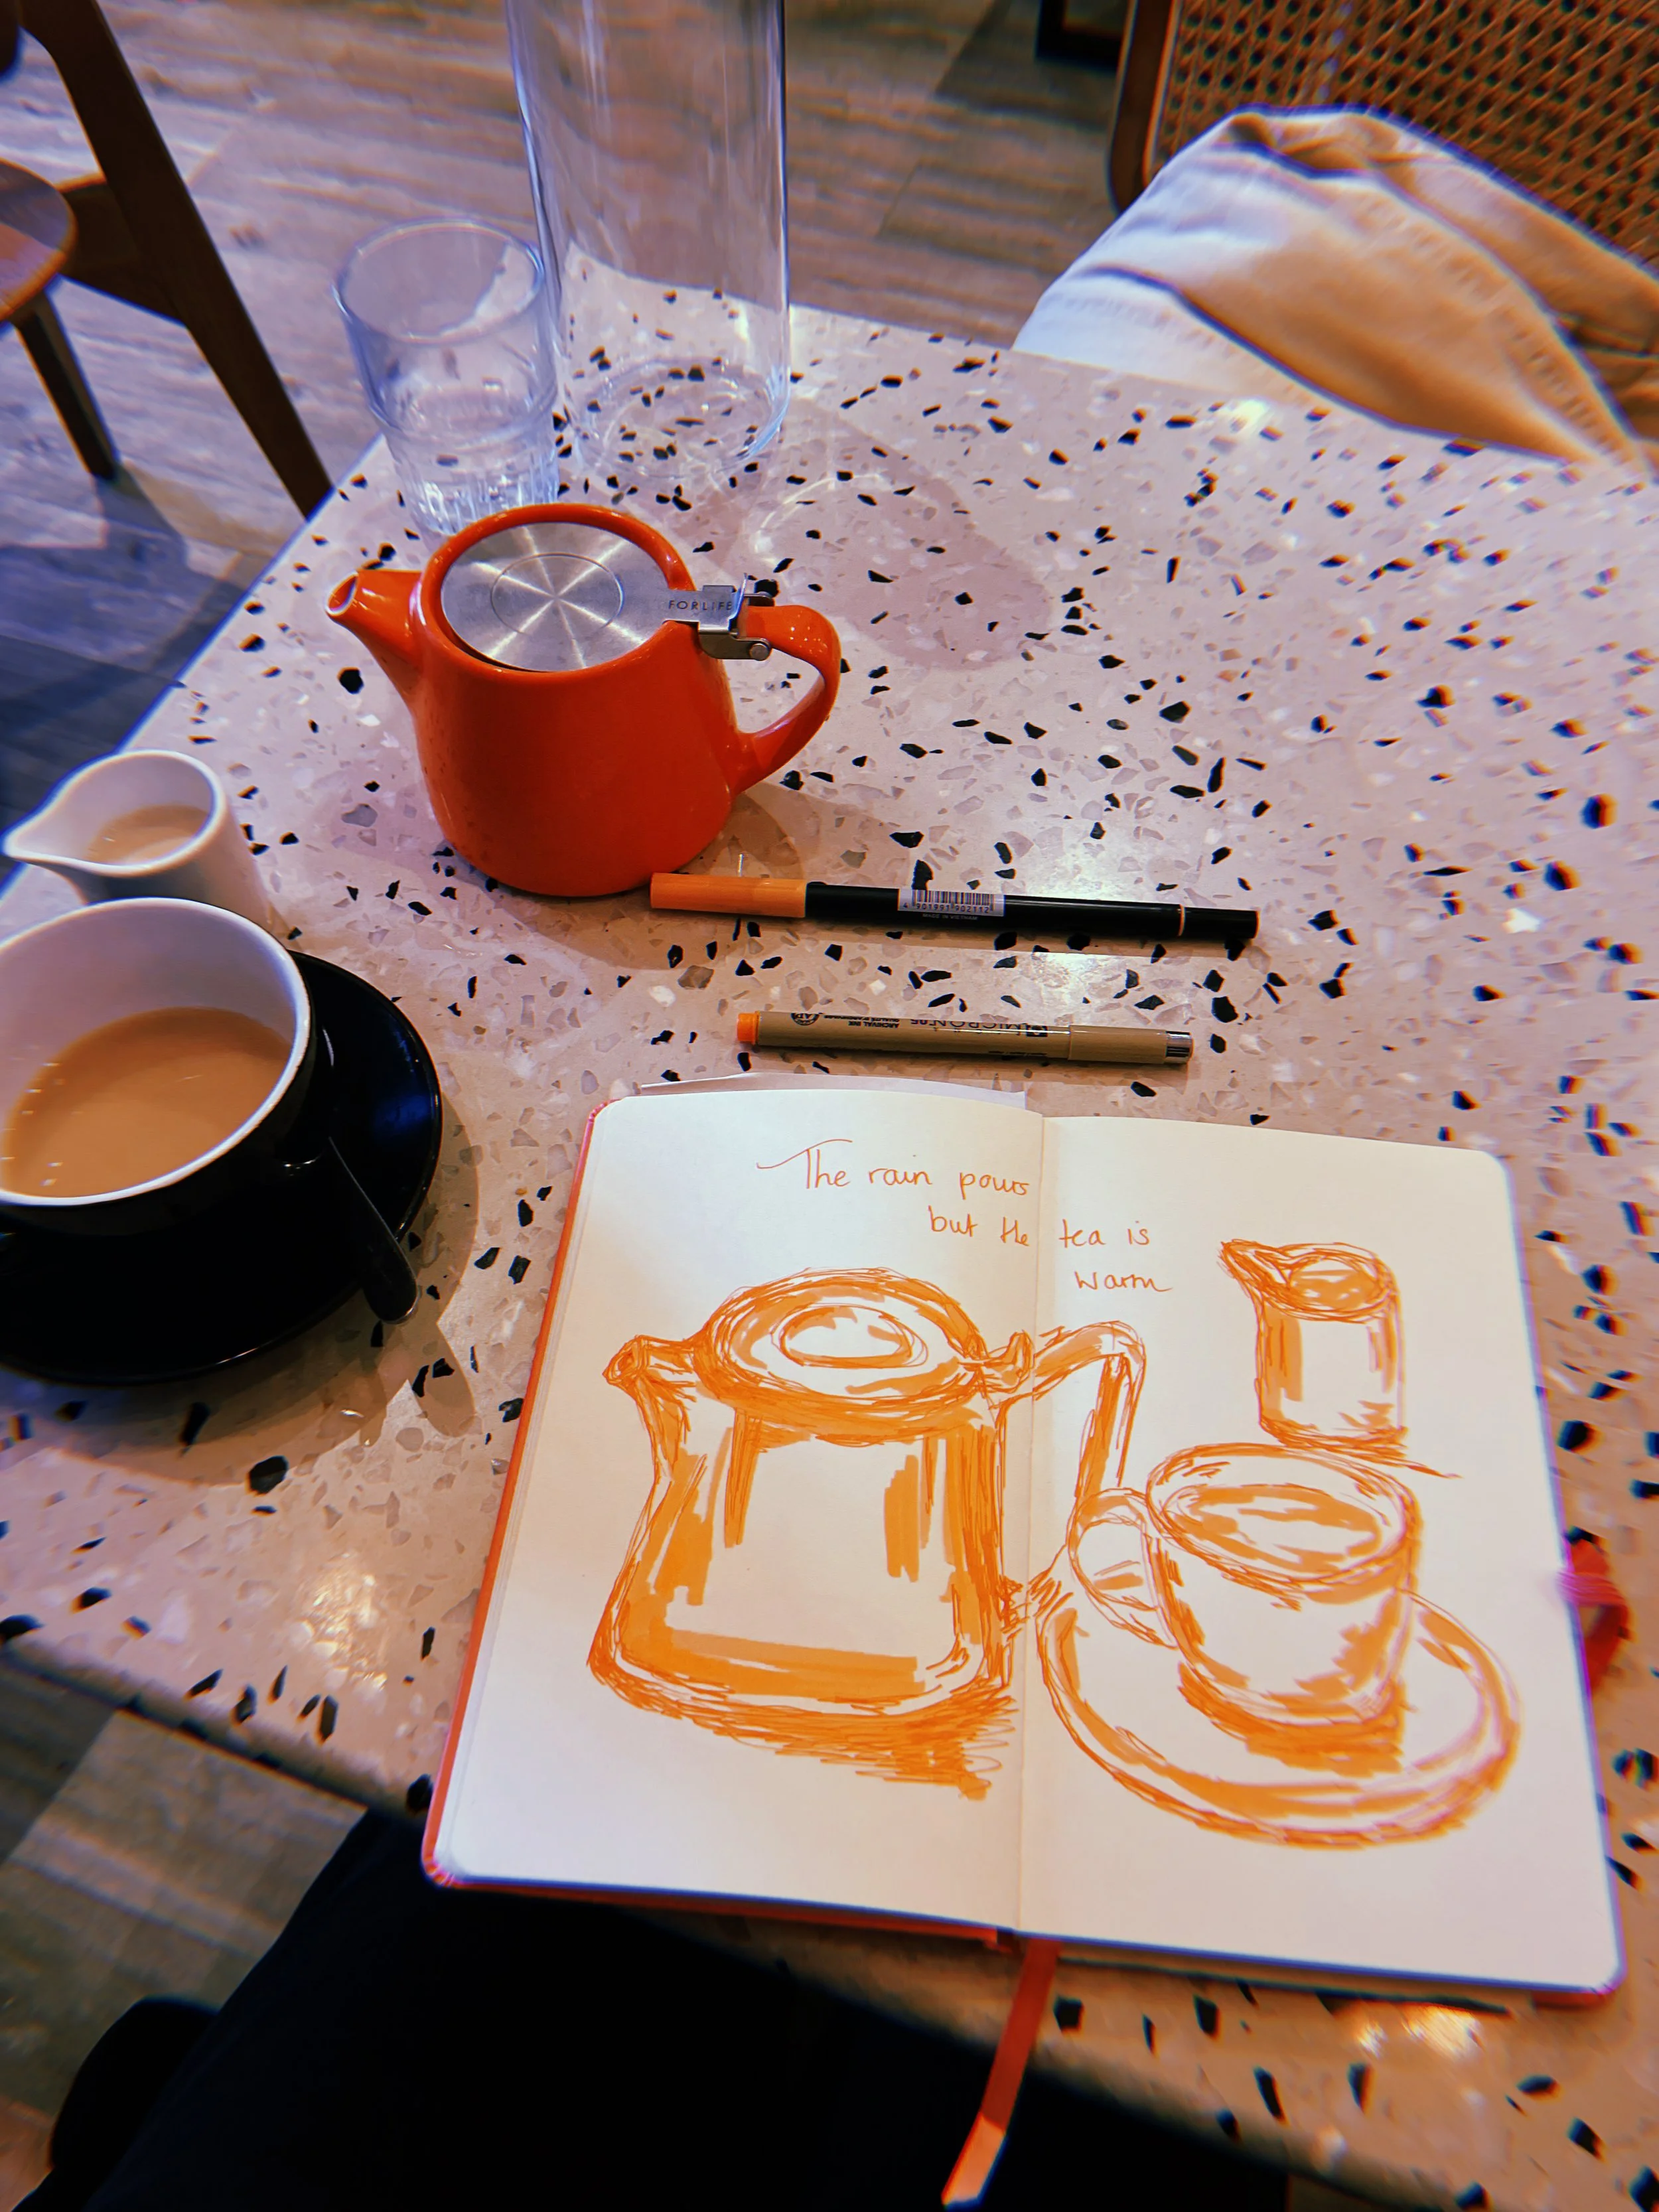
Fine Liner Pens - Sakura
Finally, I have a small selection of fine liner pens for when I feel like creating something really loose and simple.
I love to lay down a rough block of colour with one of my brush pens and then add the detail and definition with a fine liner. Alternatively, I’ll map out the shape of something with a fine liner then very loosely fill in the colour with pencil or pastels.
At the moment, I have a selection of black, blue, orange and pink liners and they’re great for drawing something quick and loose in my sketchbook.
They’re also a great option for on-the-go because you can store them in your bag with a small sketchbook and you don’t have to worry about mess or carrying loads of materials around.
Shop UK and International: Sakura Fine Liners
Shop US: Sakura Fine Liners
…and finally, a mention of the paper I like to use because that definitely plays a part in the colour and texture you can achieve!
Art Creation Sketchbook - Royal Talens
I love these sketchbooks! They come in a variety of different sizes so they’re great for whether you just want to sketch in the house or if you want a compact sketchbook to take out and about with you.
I was drawn in by the fun colours at first but the quality is really good and whilst the paper isn’t super thick, it does hold up well to most materials. These are my go-to sketchbook and pretty much the only ones I use.
Shop UK and International: Art Creation Sketchbook
Shop US: Art Creation Sketchbook
Daler Rowney Paper
For everything from small A5 pieces up to larger A3 pieces, I usually opt for the Daler Rowney ‘Smooth - Heavyweight’ paper. I love the thickness of this paper and it holds up well to most materials (but can warp a bit with watercolour paints).
It’s not super expensive and it’s become my go-to for pieces that I’m not creating in a sketchbook.
Shop UK and International: Smooth Heavyweight Paper
Shop US: Smooth Heavyweight Paper
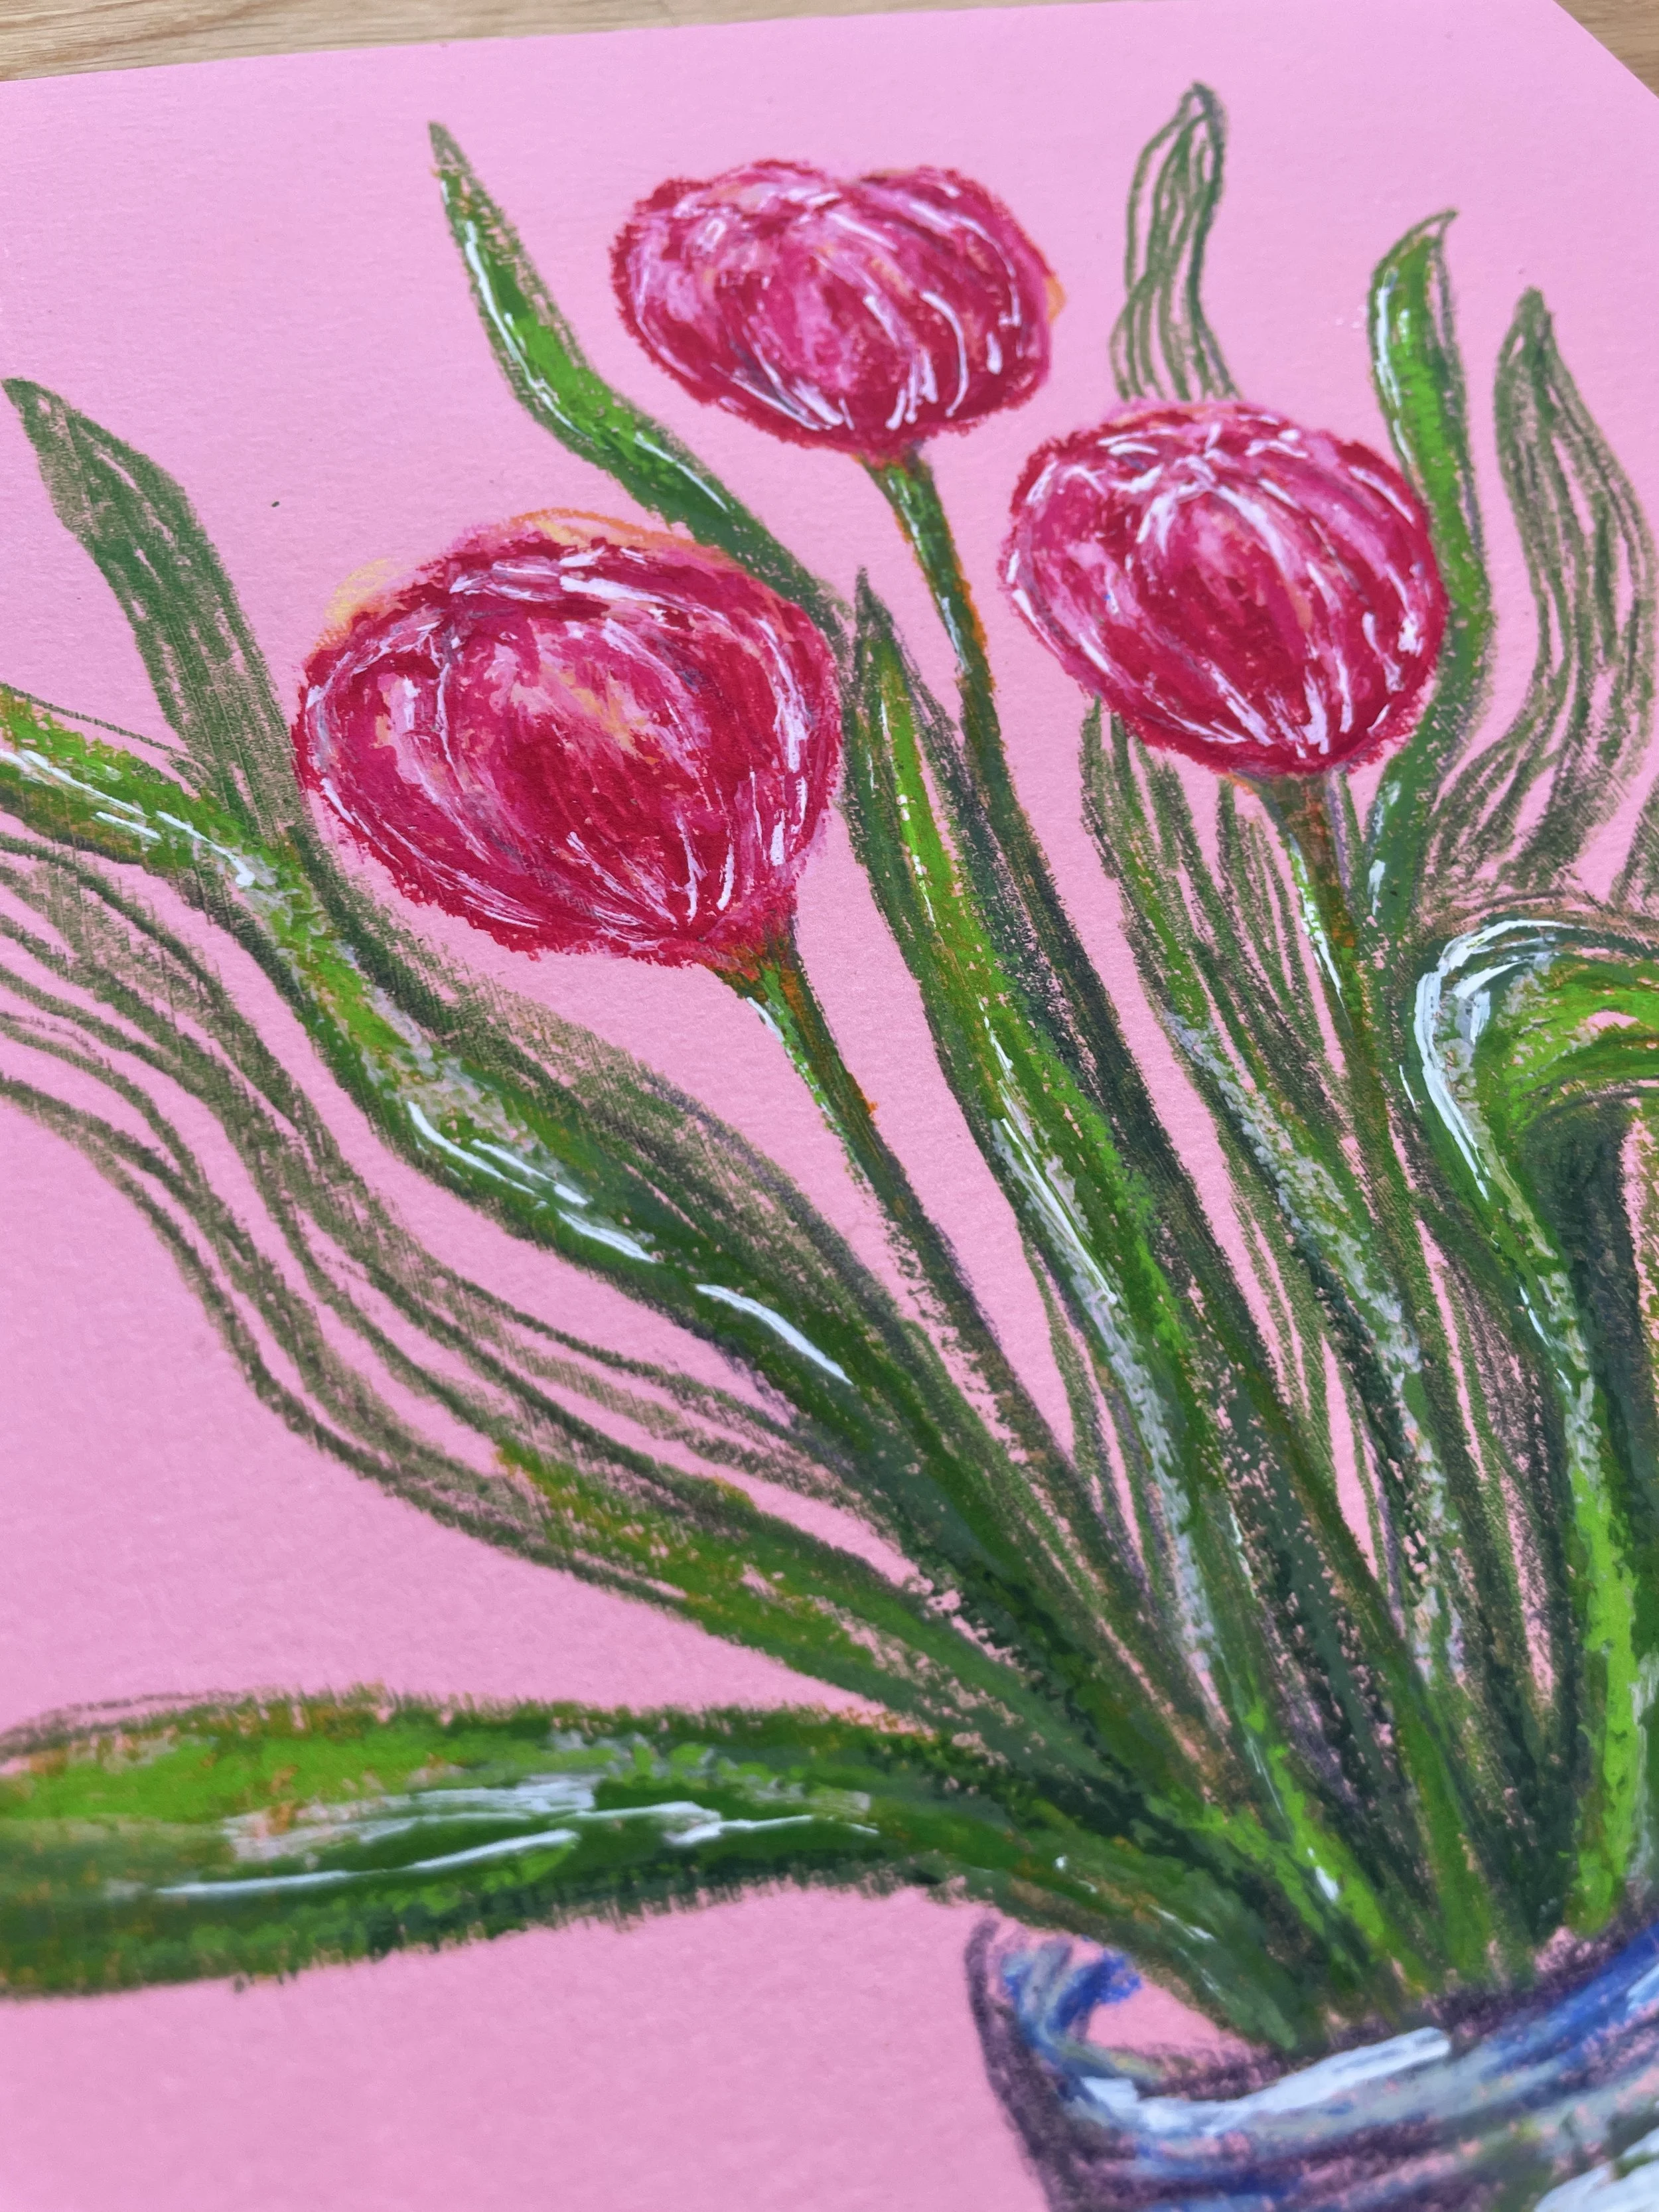
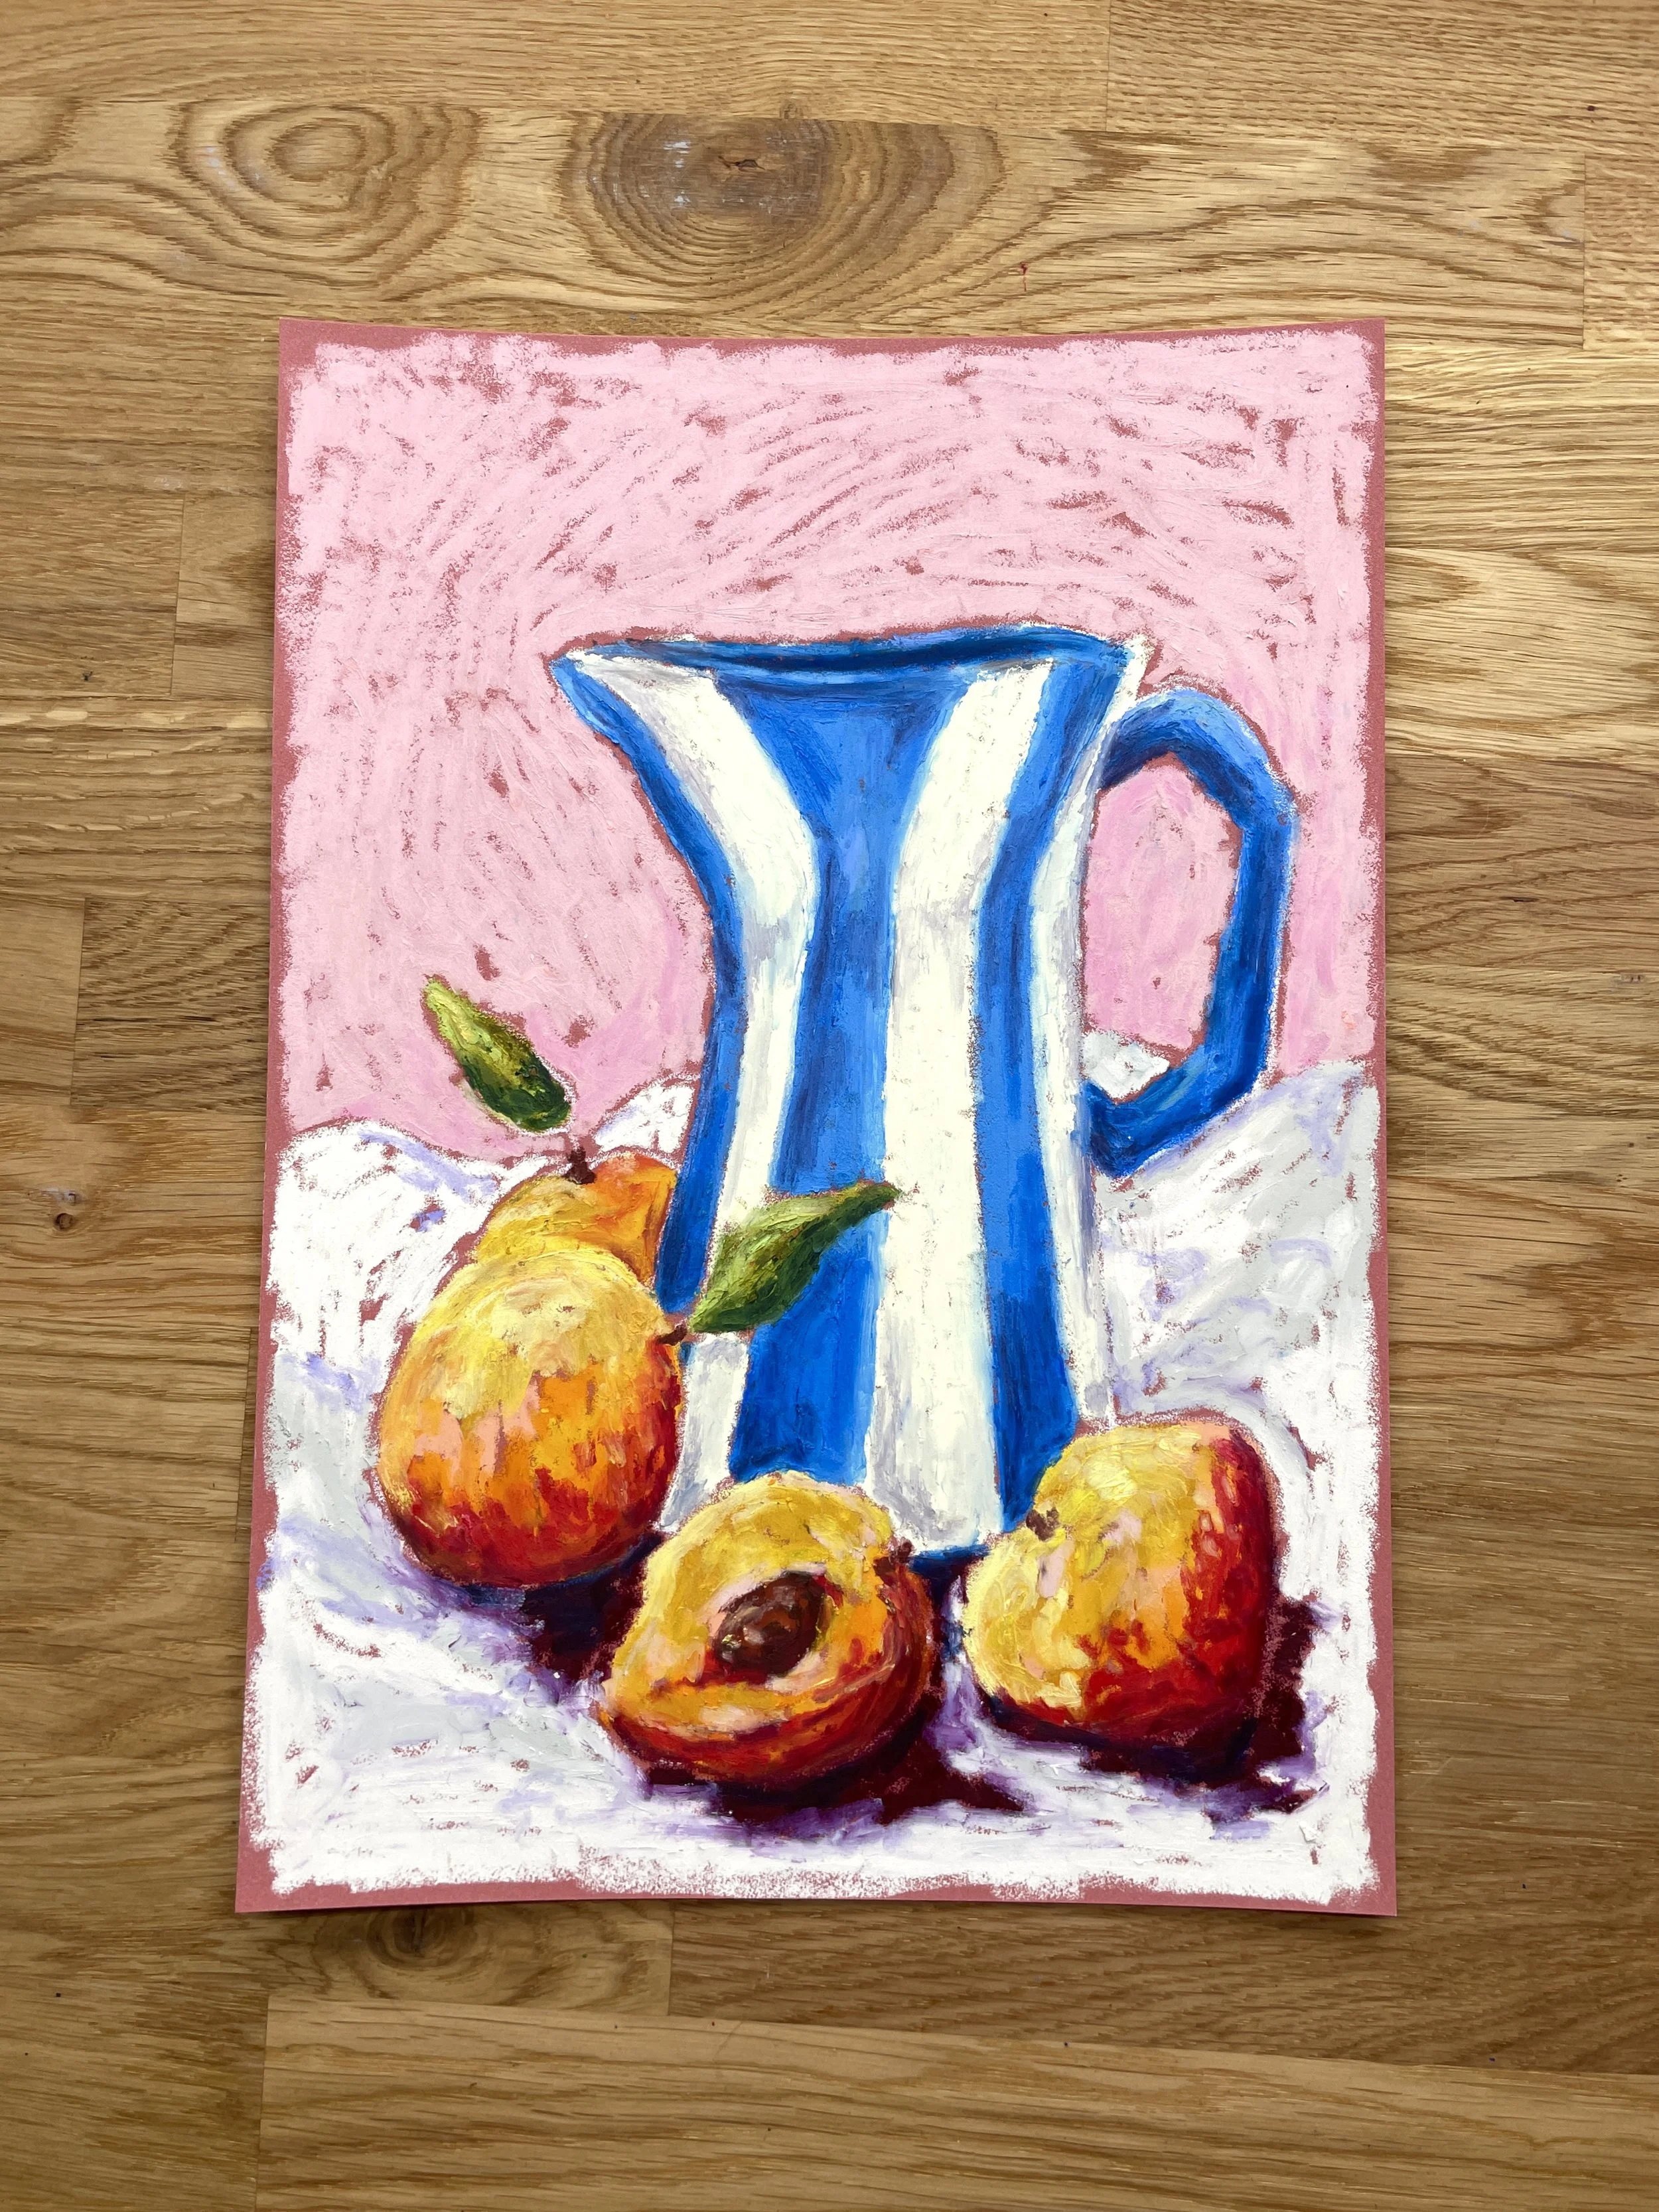
Clairefontaine Pastelmat Paper
This thick paper has a velvety surface that works beautifully with pastels.
It has more ‘tooth’ to it so it really picks up oil pastels and creates its own wonderful texture. It’s great for more painterly pieces - and it also comes in a variety of colours so it makes a great backdrop for your artwork, especially if you like to leave exposed parts of the canvas in your work.
There’s an example of what the paper looks like in use here!
Shop UK and International: Clairefontaine Pastelmat Paper
Shop US: Clairefontaine Pastelmat Paper
Pastel Fixative Spray - Jackson’s
Finally, if you’re working with pastels and very textured materials like I do, it’s a good idea to set your work to stop it from transferring or smudging and ruining the piece! I use a simple pastel fixative spray which you spray almost like hairspray across the work to help set it in place.
You still need to be careful with pastel artworks not to handle them too much or touch the actual piece but this will help - especially if you’re using a sketchbook. Just make sure to spray it outside or somewhere with good ventilation!
(Another good trick to stop materials transferring across sketchbook pages is to cut up small slips of paper that you can put between the pages!)
Shop UK and International: Pastel Fixative Spray
I hope this was useful and gave you an insight into how I create! I also hope it has inspired you to play around with some materials you already have or to try out some new ones.
Let me know if you create anything inspired by reading this - I would love to see! If you have any questions, you can always drop me and email or reach out on Instagram.
(*Please note: the links in this blog post are affiliate links so I earn a small commission if you decide to purchase through them. It doesn’t cost any more for you but means I can put what I earn back into my own art supplies! Thank you for your support!)